-2.png?height=120&name=EDITED%20Logo%20Dark%20-%20Color%20(1)-2.png)
*Note: If your account’s version of EDITED does not display the ‘Rewind Time’ filter, please refer to this page for Date & Timeline methodology, and disregard the following article. If you’re interested in accessing this feature, please reach out to your account manager, or email support@edited.com for more information.
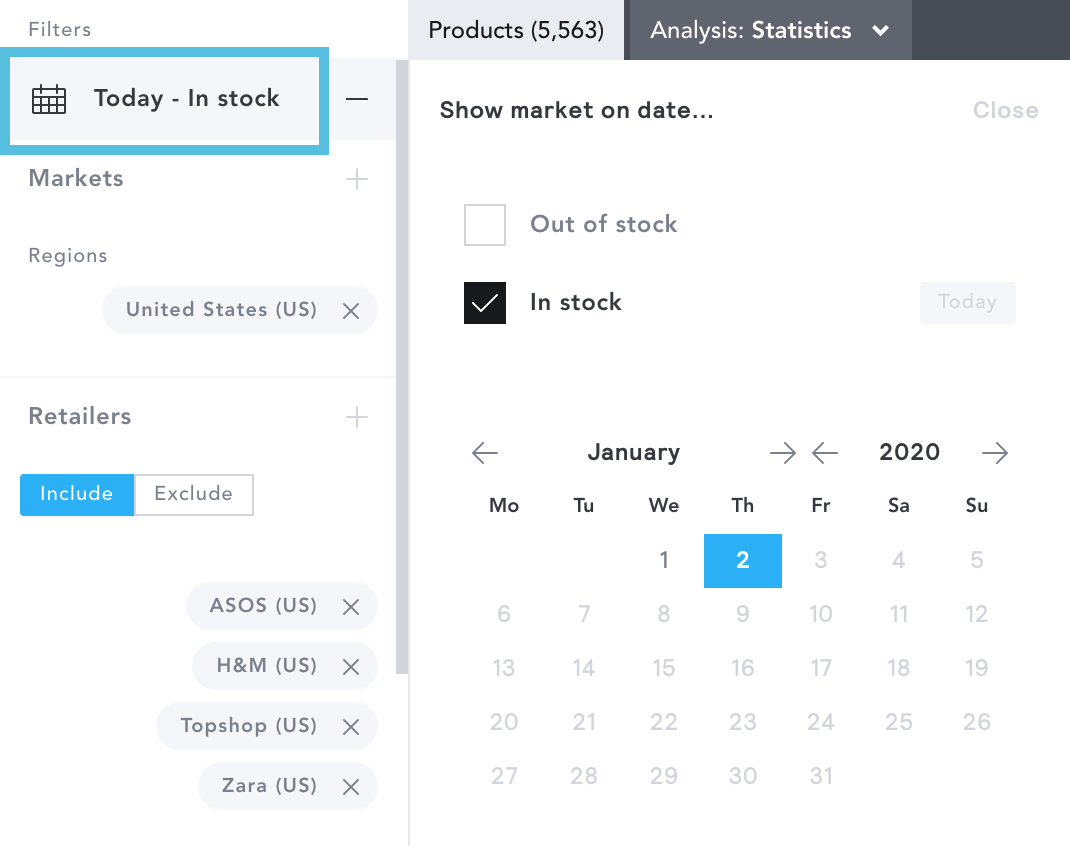
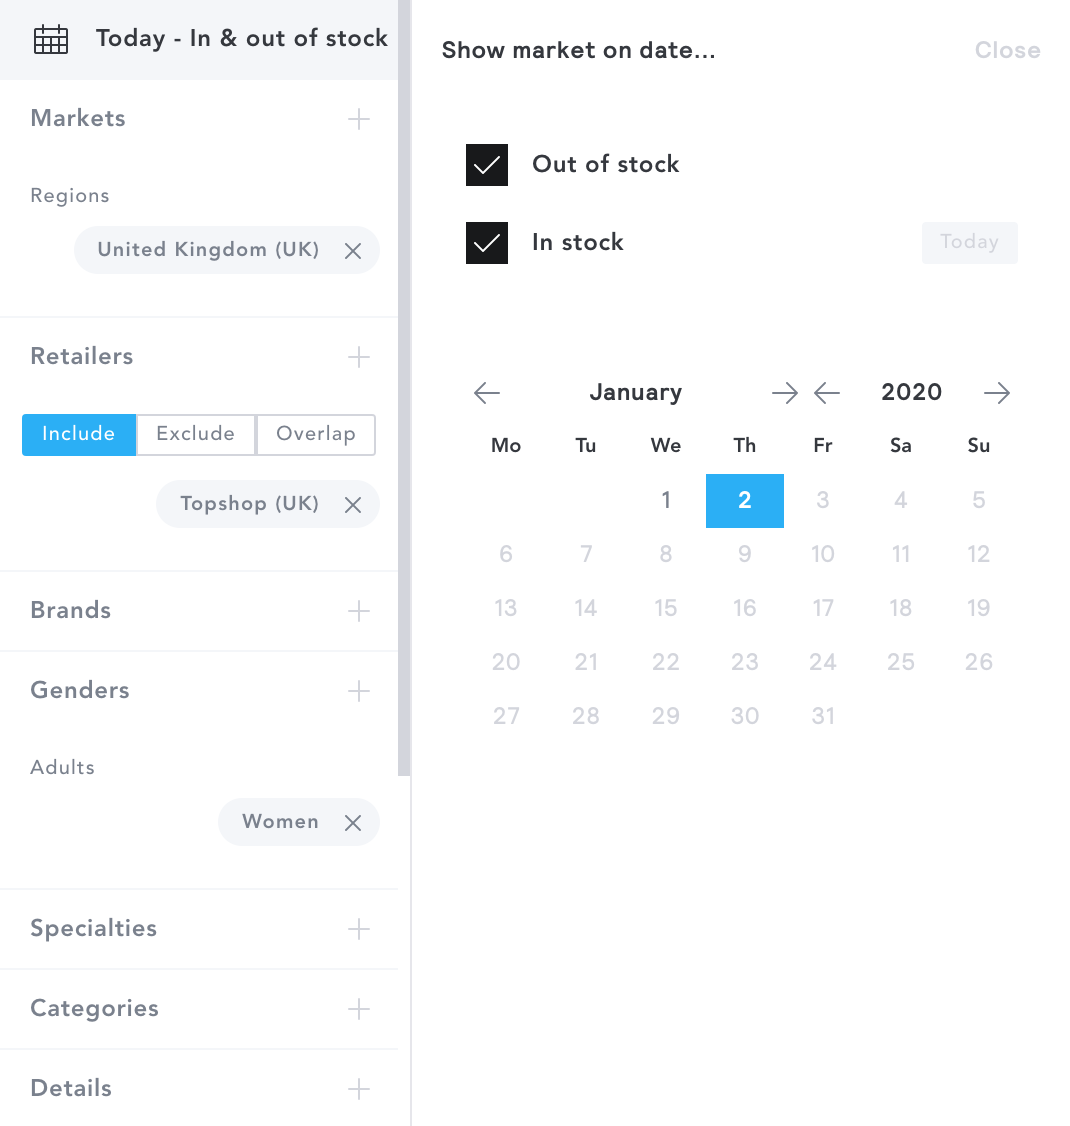
By default, your workbook will show products that are ‘In Stock’ currently. This means your workbook will automatically display products that are available on the market today.
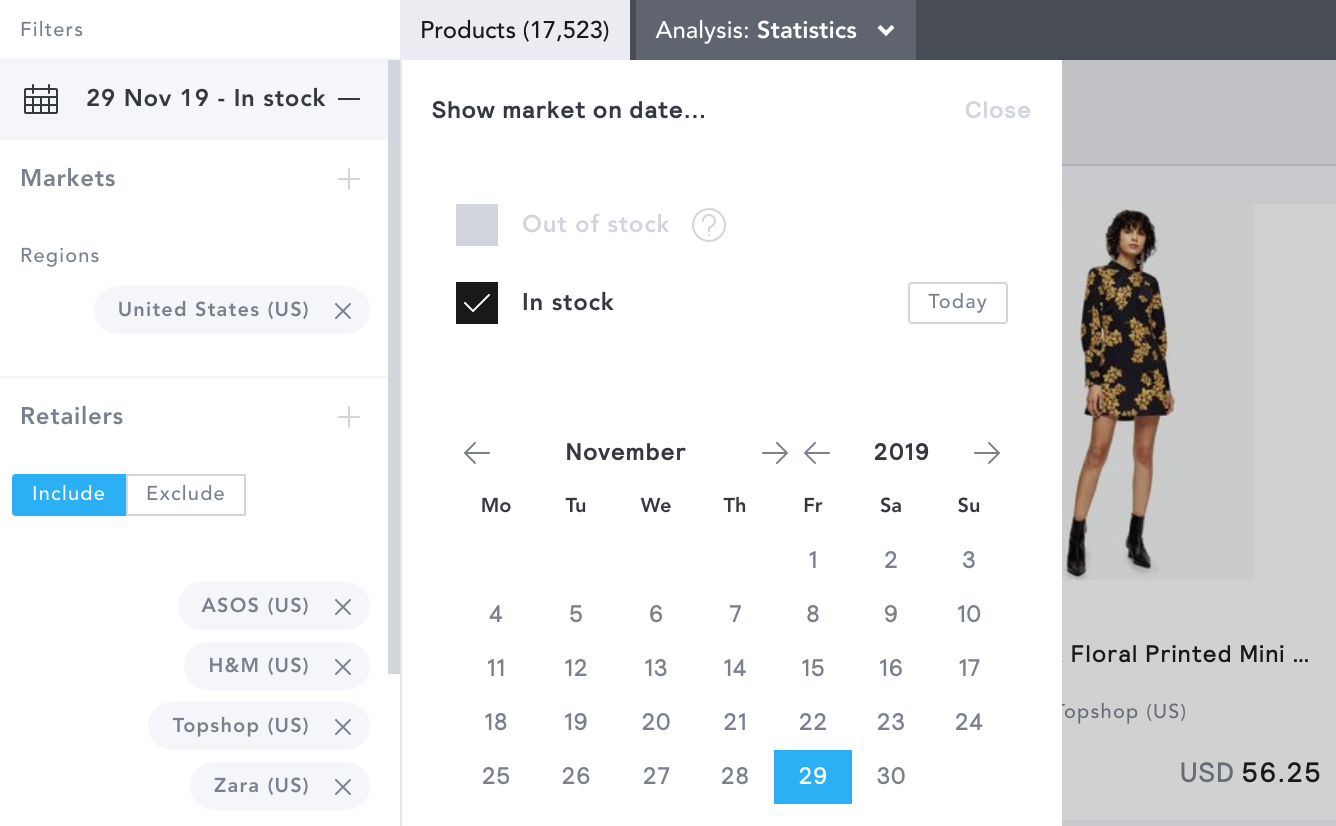
With the Rewind Time filter, you’re able to select any previous date to see the state of the market on one specific day back in time. Essentially, it’s as if you logged into your EDITED account and created your workbook on that specific day.
To navigate to a different point in time, select ‘Today - In Stock’ at the top of your filter panel. Use the date picker to select your desired date.
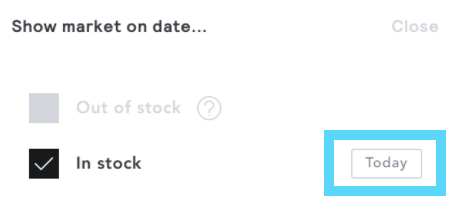
To get back to today’s date, click on the ‘Today’ icon next to the ‘In Stock’ button.
When should I use the ‘Rewind Time’ Filter?
- Previously, when looking at pricing or discounting information for products over a historical timeframe, you would be viewing the price or discount information on a set of products based on the most recently tracked information (i.e. the last tracked price point or discount amount). Now, you are able to view a set of products as they appeared on that given day (i.e. the actual price points of the products within your workbook on the date you’ve selected).
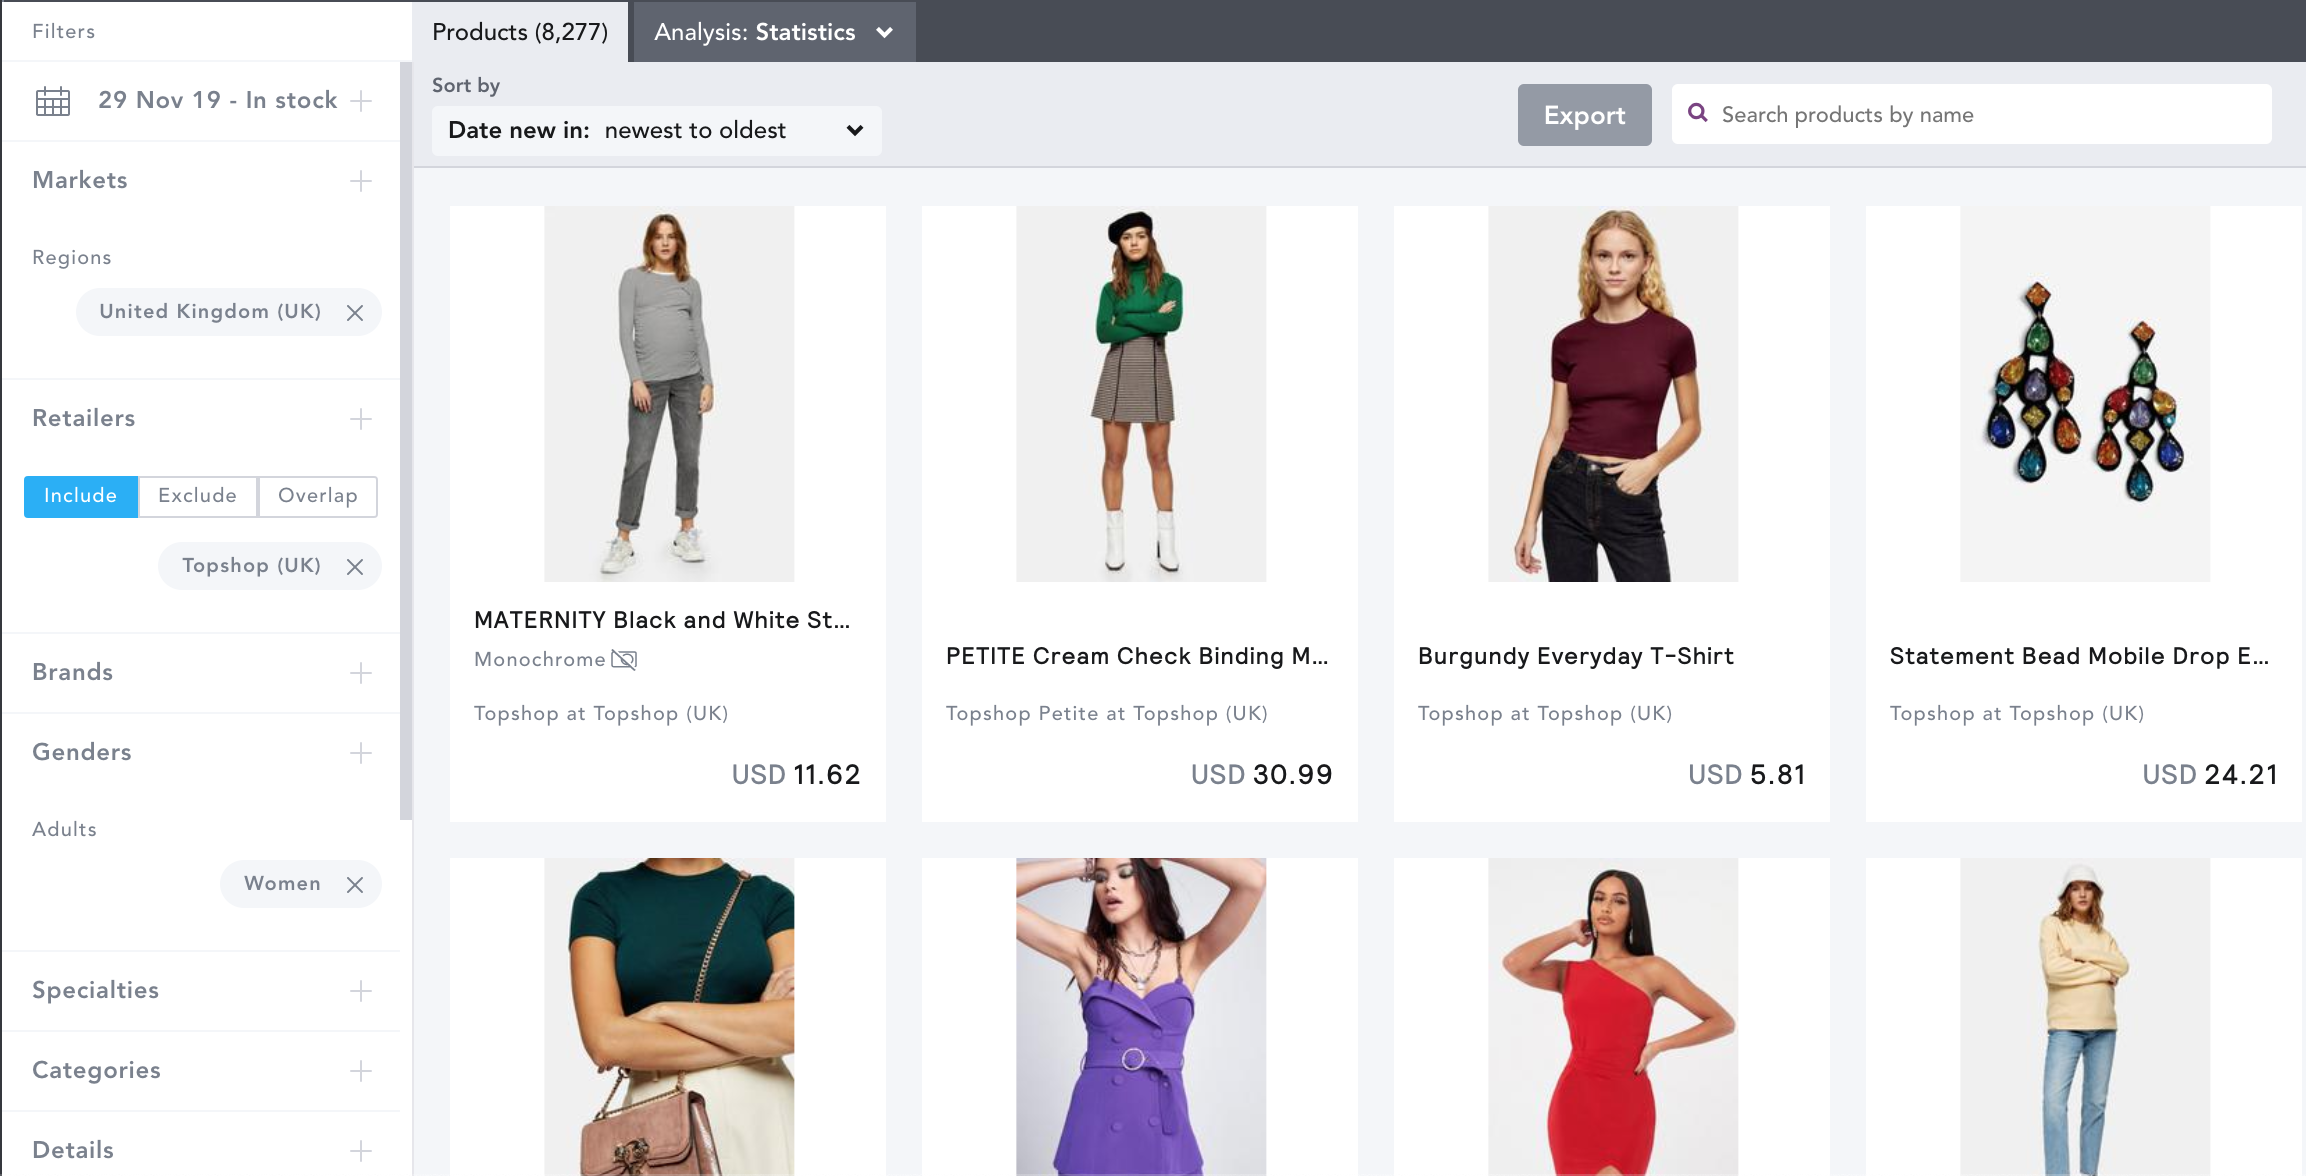
In the example below, we are looking at the state of Topshop (UK) product on Black Friday, 2019 (29/11/19).
Why Can’t I Select ‘Out of Stock’ Product on a Certain Date?
The ‘Rewind Time’ filter is showing you what products were in stock on that exact date. If you selected ‘Out of Stock’, it would no longer represent the market’s assortment on your chosen date.
What if I Want to View In Stock Products Over a Date Range?
If you’d like to view a date range or multiple date ranges within your workbook, begin by having both the ‘In Stock’ and ‘Out of Stock’ button selected. Remember to check ‘Out of Stock’ to include products that might have since sold out.
To add in your desired date range, select the Price & Status filter and click on Status. Choose to look at product based on when it was:
- In Stock
- New In
- First Sell Out
- First Majority Sell Out
- First Discounted
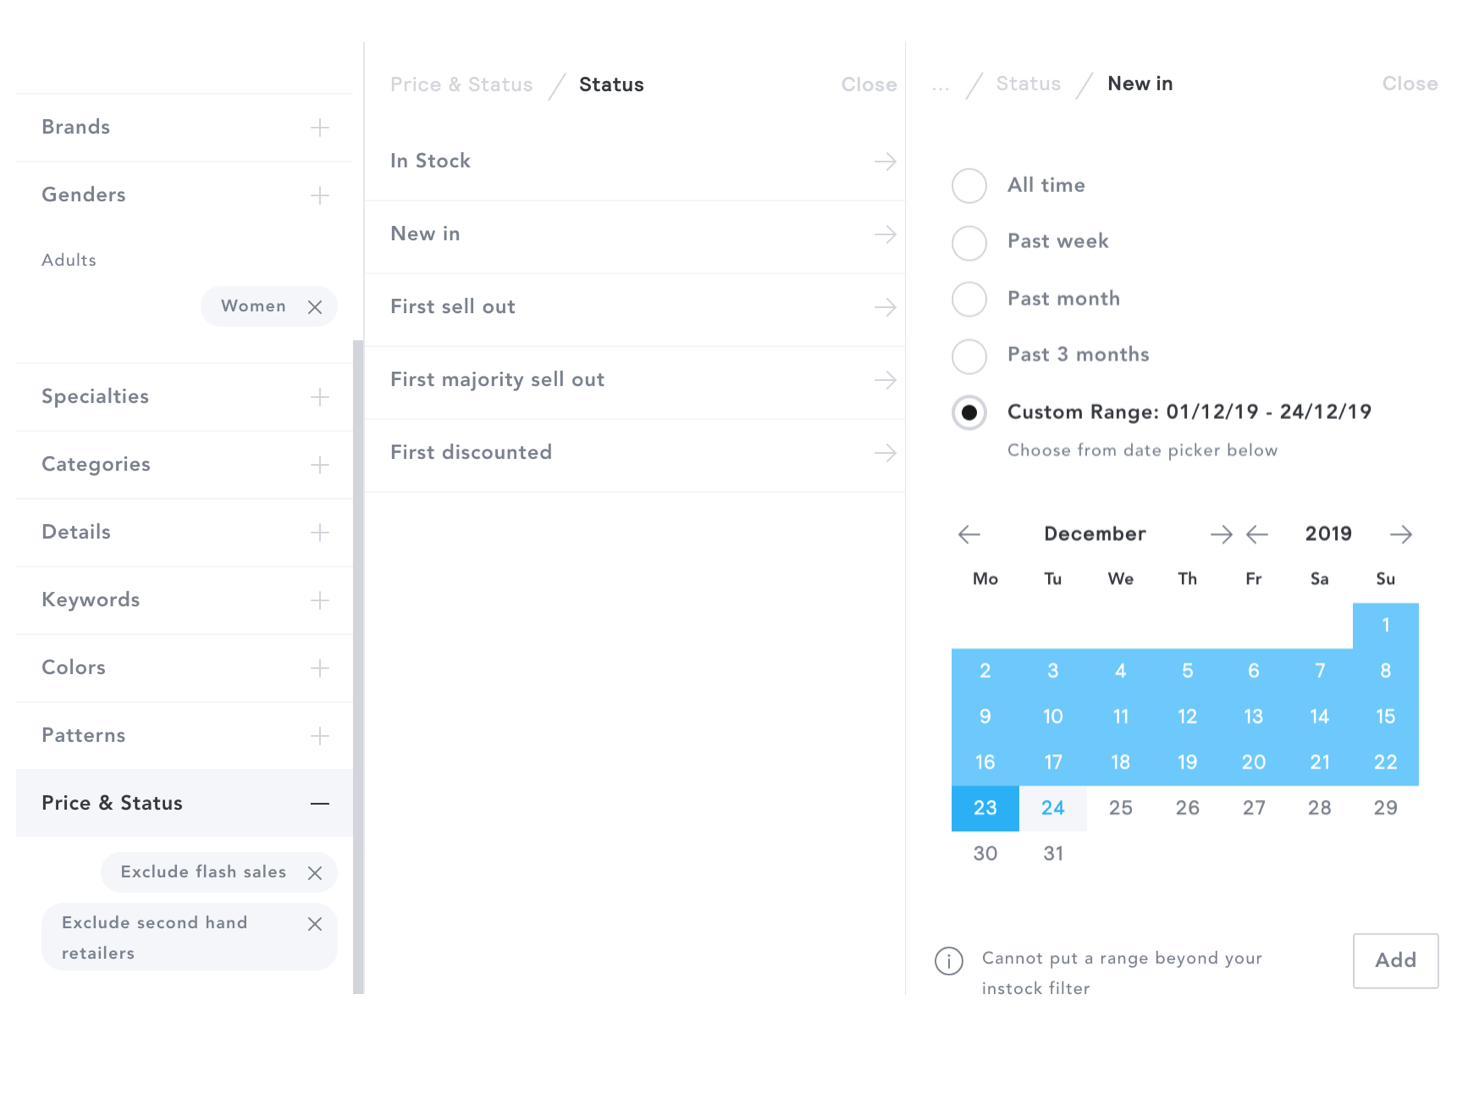
Add in your desired date range. To read more about applying filters and using the Price & Status filter, check out this article.
Using these filters will allow you to rewind your market view to the assortment that meets these criteria. Applying timeline filters for a period greater than one day will not rewind the prices of the products to the prices they were on the dates selected. To do this, you will need to select only an individual date using the ‘Rewind Time’ filter at the top of your filter panel.
For more information on the terminology used within this filter see here.