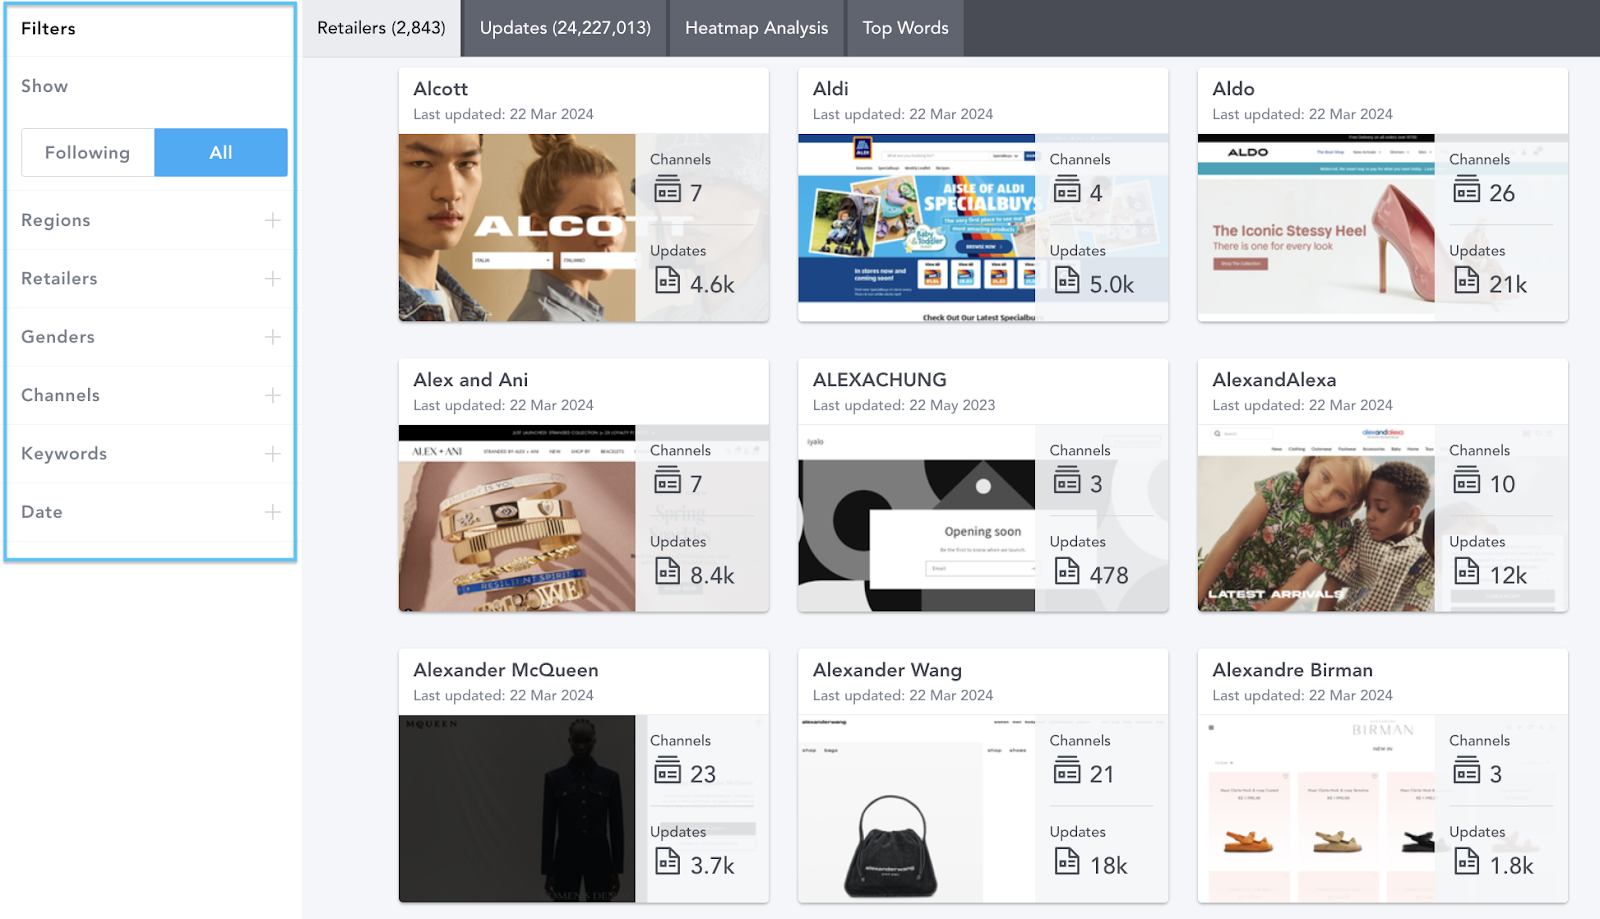
Located at the left of Messaging workbooks, the filter panel allows you to select the messaging that you want to analyze. Refine your selection by adding more filters. You can use any number of filters in any combination.
Regions
- Use the checkboxes to select specific region/s to analyze.
- Type the name of a country or the country code into the search bar, and the list will be refined to match your search.
- You can select as many regions as you’d like.
- Once you have selected your regions, click Close at the top right to close the filter panel.

Retailers
- Use the checkboxes to select specific retailers to analyze.
- You can select as many retailers as you’d like.
- Type the name of a retailer into the search bar, and the list will be refined to match your search.
- Once you have selected your retailers, click Close at the top right to close the filter panel.

Genders
Use the Gender filter to see gender-specific channels.
- Use the checkboxes to select the genders you want to analyze.
- You can select Men, Women, and Children.
- Once you have selected genders, click Close at the top right to close the filter panel.
Note: Many pages are not gender-specific. Therefore, if you want a holistic view of the market, leave gender selected as All.

Channels
Use the Channels filter to choose the type of communication you are interested in.
- Homepage is the ecommerce landing page for a brand/retailer site.
- Email is the email newsletters that are sent to customers.
- Category Landing Page is a secondary ecommerce landing page like New In or Womenswear that you can select from the Homepage.
- Blog refers to any editorial content on a retailer’s site.

Categories
Categories let you specify whether you’d like to see category-specific communications with content on Apparel, Beauty, or Homeware. The categories filter is viewable depending on your EDITED subscription.
- Use the checkboxes to select the categories you want to analyze.
- You can select Apparel, Beauty, and Homeware.
- Once you have selected your categories, click Close at the top right to close the filter panel.
Note: Many pages are not category-specific. Therefore, if you want a holistic view of the market, leave categories selected as All.

Keywords
Keywords can be used in EDITED Messaging to drill down your analysis and search for specific trends, discounts, or copy across retailer websites and communications.
By default, keyword searches follow the ‘OR’ logic. For example, if you search for Sale and then add another keyword to your workbook, e.g., Discount, it will return any messaging that mentions Sale OR Discount.
- Type your keyword into the search field.
- Click Add.
- Once you have typed all of your keywords, click Close at the top right to close the filter panel.

If you need to make any amendments to the keywords you’ve applied, you can do so by simply clicking the keyword and then making any changes needed.

Read Messaging: How do I add Keywords to Workbooks? to learn about advanced keyword searches.
Dates
By default, the timeframe in EDITED Messaging is set to Past Month. This can be changed within the Date filter. You can select more than one date range within a workbook at a time. For example, this is useful when comparing email communications to the year prior.
- Select one of the preset options: Past Week, Past Month, or Past 3 Months.
- Or select your own time frame via the Custom Range date picker.
- Once chosen, click Add, and then click Close at the top right to close the filter panel.

Editing Filters
You can remove filters at any point in your analysis by clicking the X next to the filter, unchecking a box you have previously selected, or selecting All within each filter to go back to seeing everything.
