Clicking Sorting Rules in the Site Merchandising navigation takes you to the Exposure Tab within EDITED Signal. From the landing page, you can create or view a Recipe. A Recipe is a list of products with rules applied to them.
How Do I Create An Exposure Recipe From A Template?
You can create a Recipe from one of the five best practice Exposure templates to define your custom logic, as shown in the GIF below:
- Raise Price.
- Lower Price.
- Clearance Candidates.
- Surgical Location Offers.
- Overstocked SKU Locations.

Complete the interactive tutorial below to learn how to apply an Exposure template to your assortment, or read the following instructions.
Here's an interactive tutorial
** Best experienced in Full Screen (click the icon in the top right corner before you begin) **
- Click Create Recipe on the right side of the default landing page.

- Select the Recipe type.
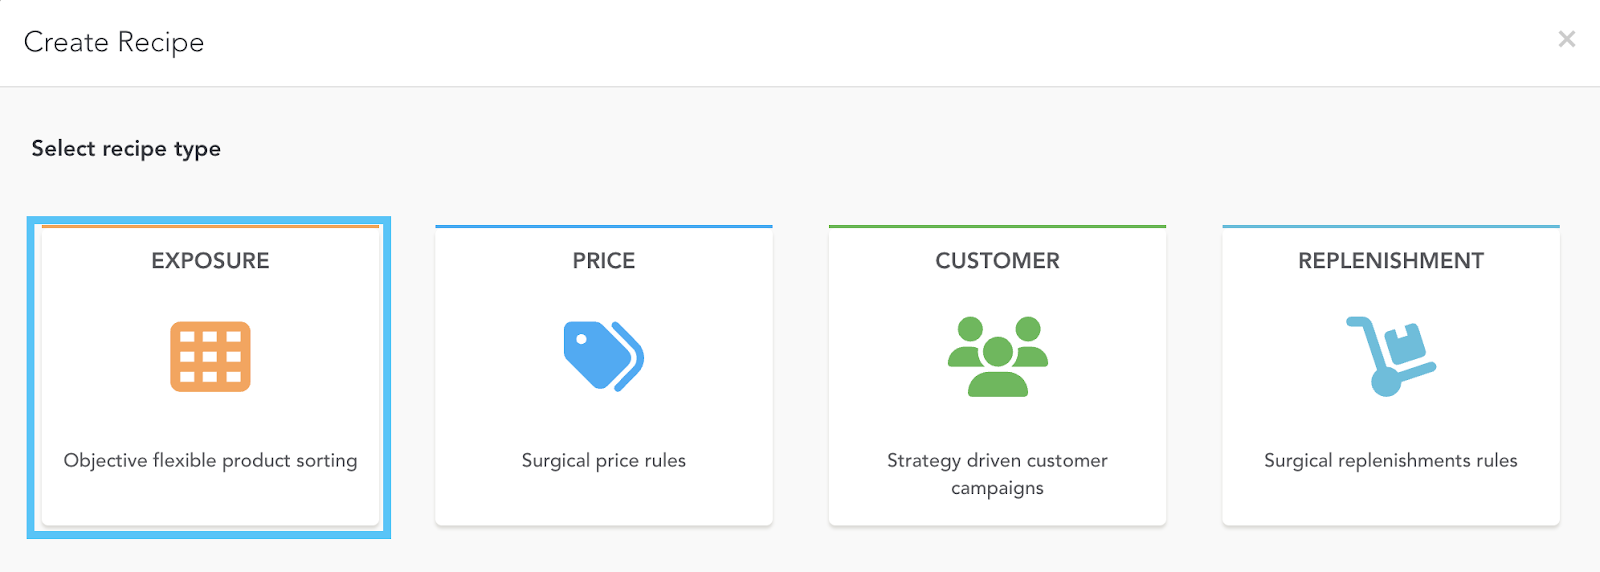
Depending on the type of automated sorting analysis, EDITED recommends using a pre-made template as a baseline before creating your own Recipe.
Using recipes requires extensive testing to ensure the correct automation setup; therefore, it's recommended that you name your Recipes with versions or numbers, e.g., Demand V1.
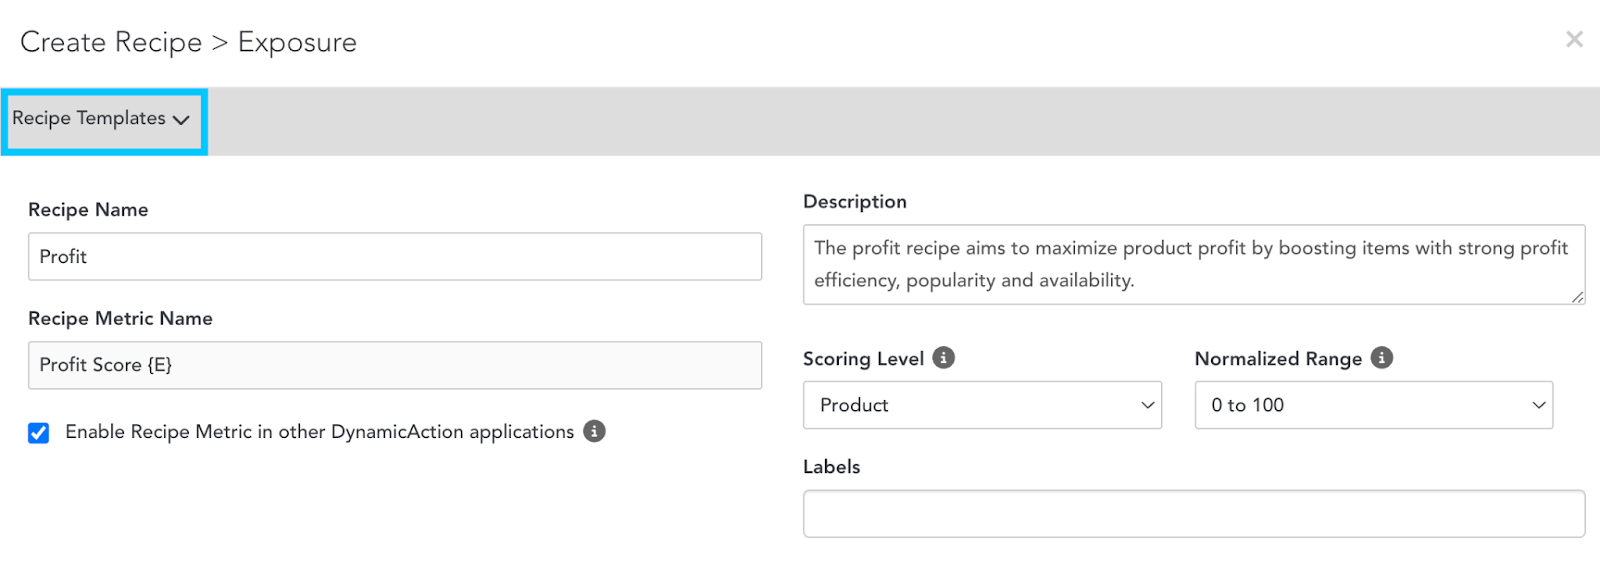
Once you have selected to create a Recipe, a pop-up window will appear where you can begin curating your automation.
- Click the Recipe Templates dropdown.
- Select the most appropriate template from the five options, e.g., Profit.
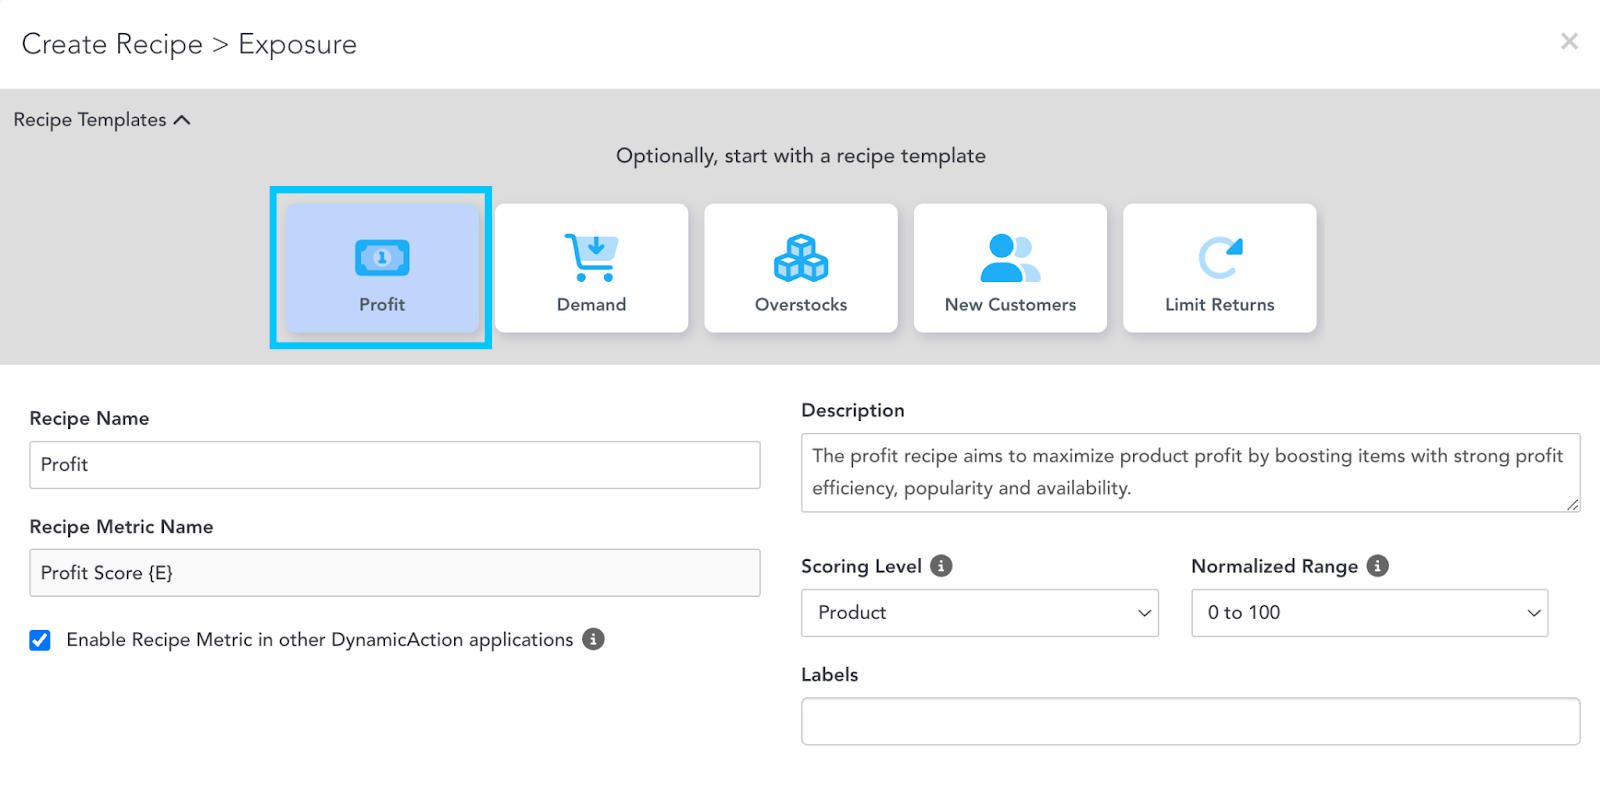
Once you have selected the default template, the pop-up window will automatically populate with specific ingredients, details, and rules that align with this template's action.
Within the Profit template, you will see specific Ingredients (metrics) such as Product Profit/View, which has been weighted highly regarding its importance when scoring. You will learn more about the Ingredients, rules, and multipliers later in this article.
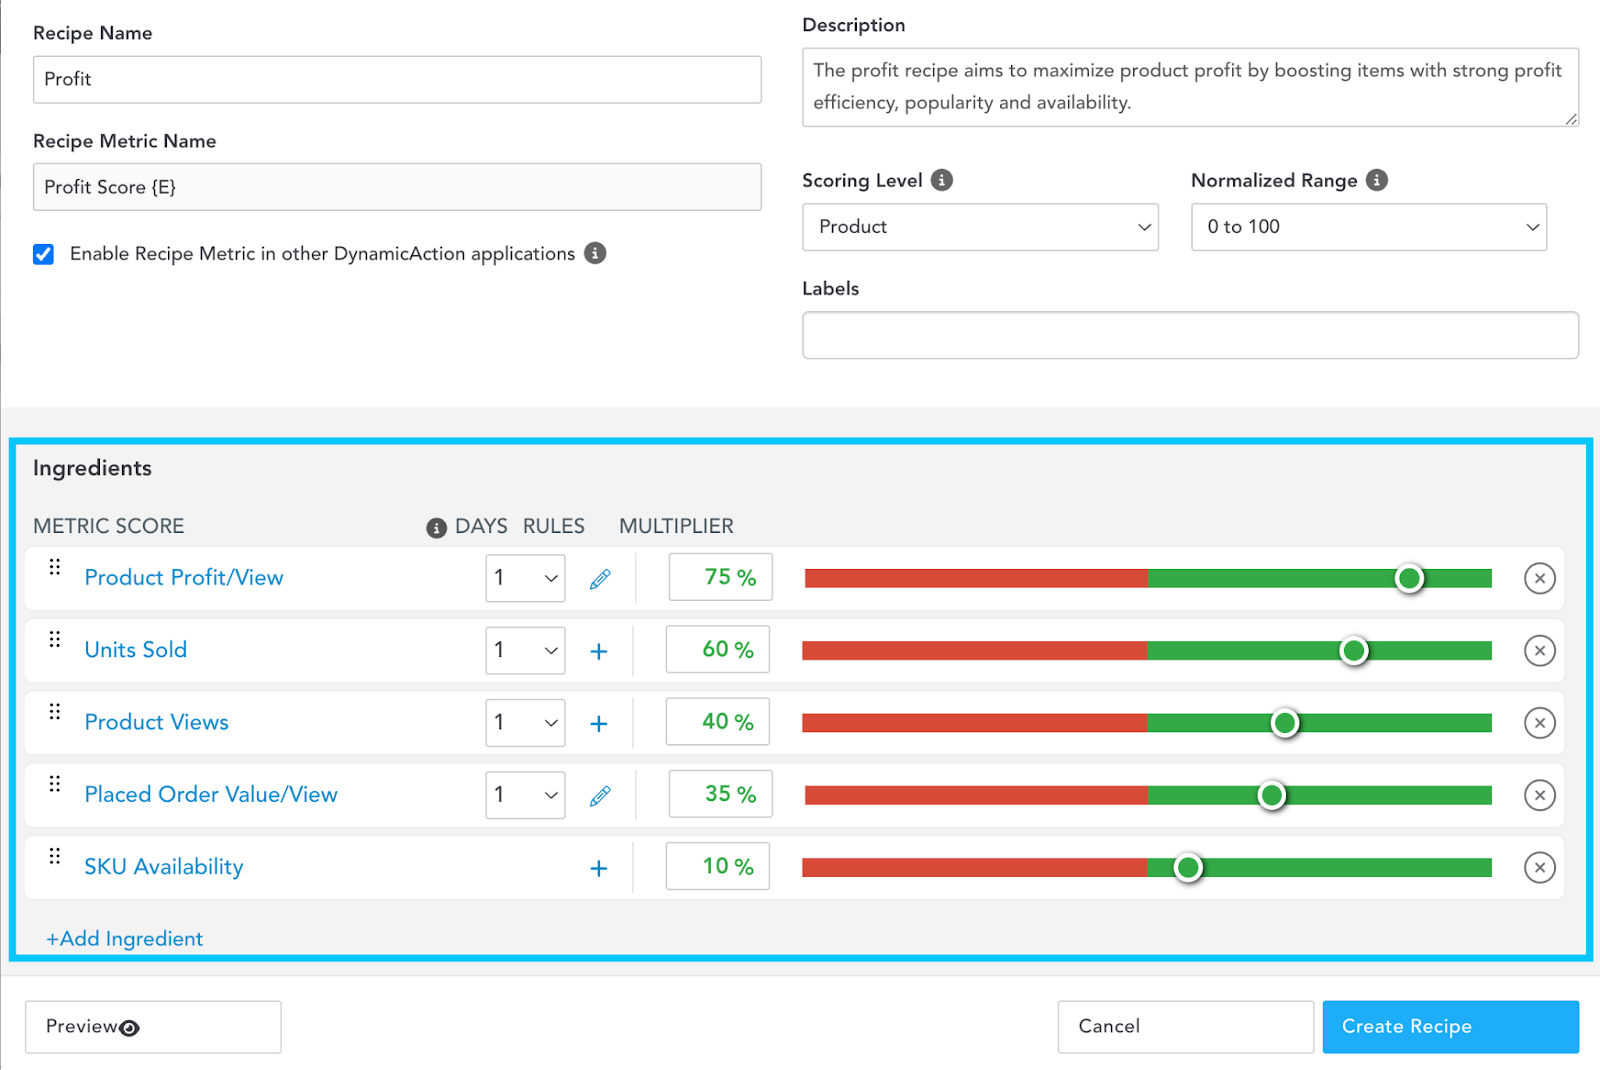
You can modify any details within the template, such as updating the Recipe Name, adding, editing, removing metrics, or adding new fields. When finished, click Create Recipe at the bottom right of the pop-up to save your changes.
Creating Your Recipe (Exposure)
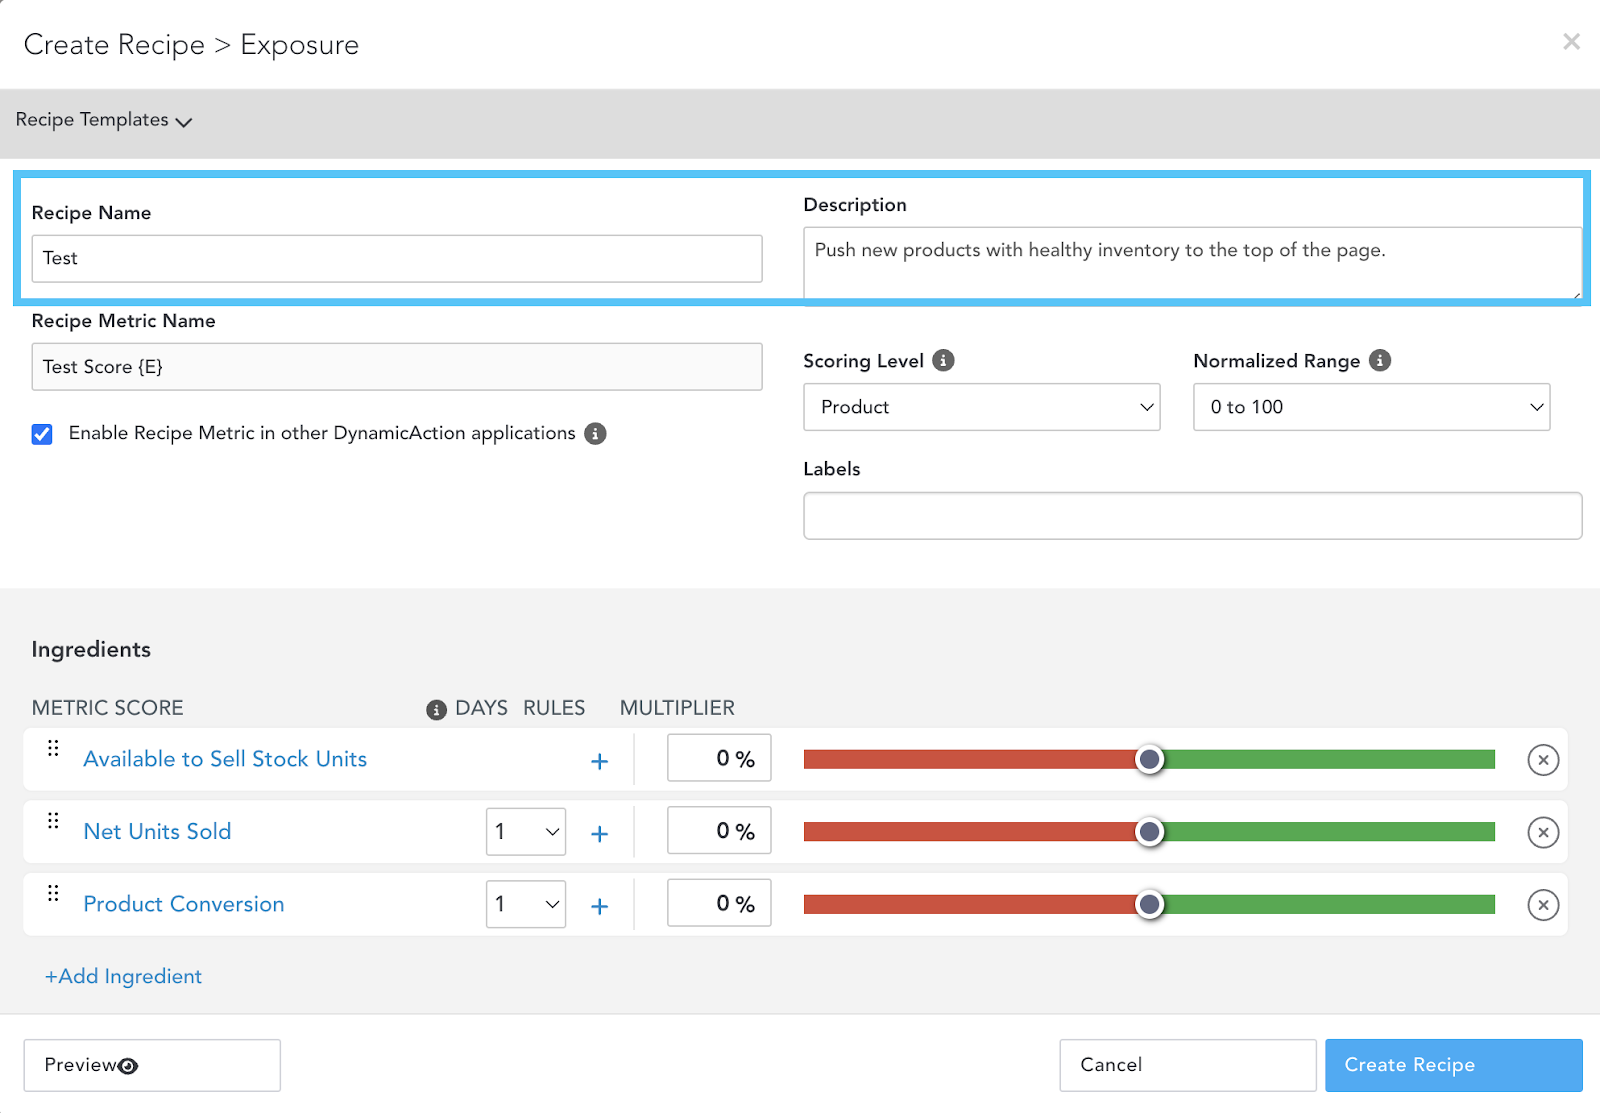
- Type in a Recipe Name, making sure that it makes sense based on your business naming conventions.
It is recommended to name your Recipes with versions or numbers, e.g., Product Sorting Newness V1. Using Recipes requires extensive testing to ensure the correct automation setup.
- Type in a Description, including details on what the automation aims to achieve, key metrics, etc.
-
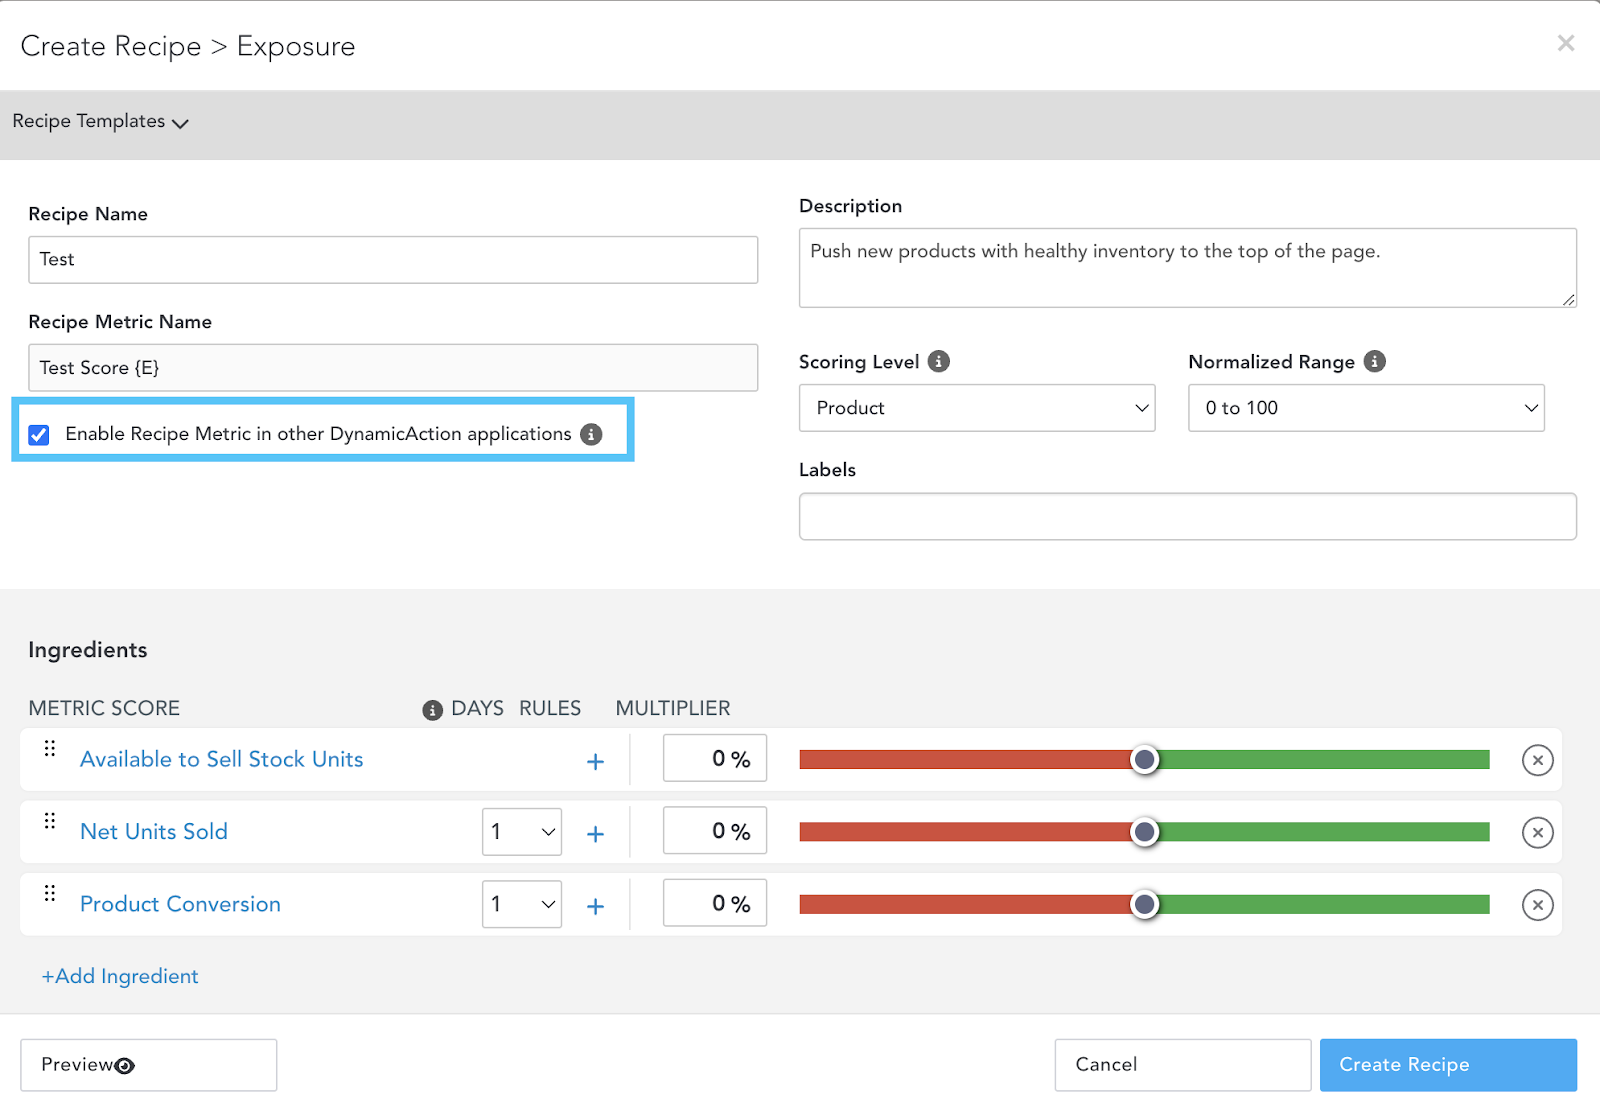
It is recommended that you tick the Enable Recipe Metric checkbox. This allows you to add the scores this Recipe generates as a metric to other EDITED Digital/Omni areas, such as Badges.
- Select from the two Scoring Levels within the Recipe.
- Product: Every product will be scored based on the product's overall performance.
- Product Selling Location: Every product will be scored based on location. For example, a product may perform well on the UK site and poorly on the US site, affecting the score and consequent actions you would take.
- Select the Normalized Range preference.
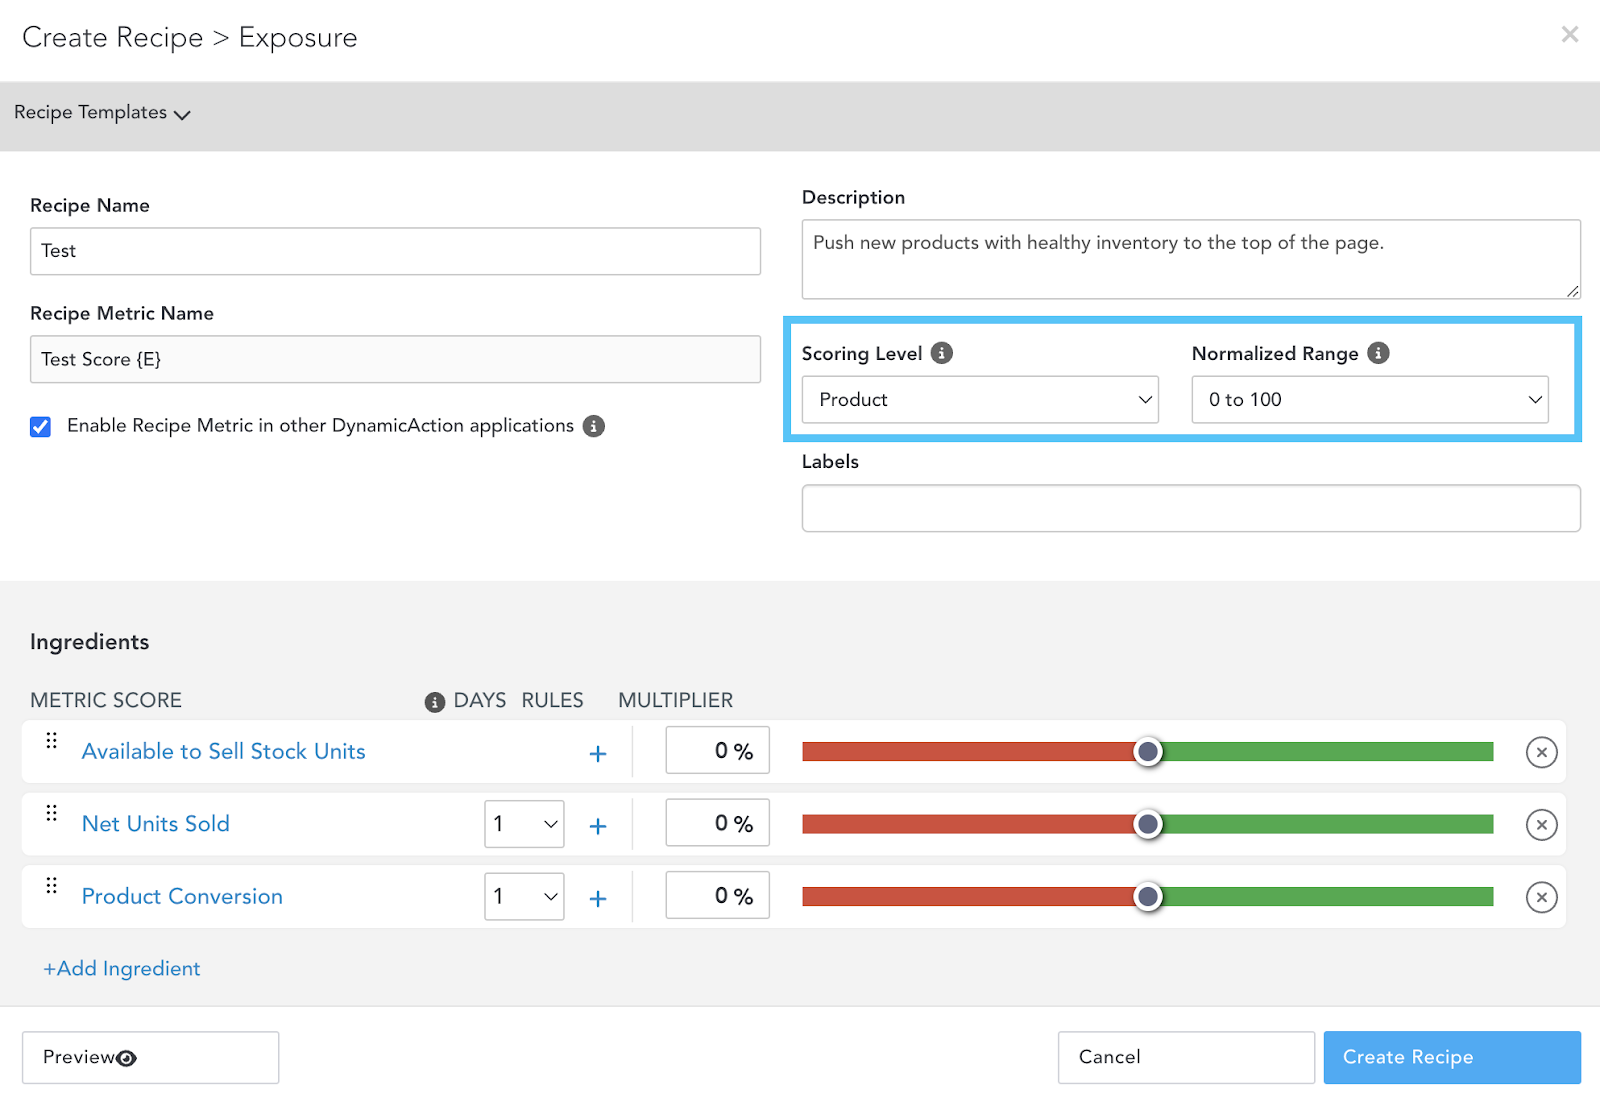
The options shared here are based on the third-party partners or source systems that EDITED connects with.
How To Add Ingredients To EDITED Signal
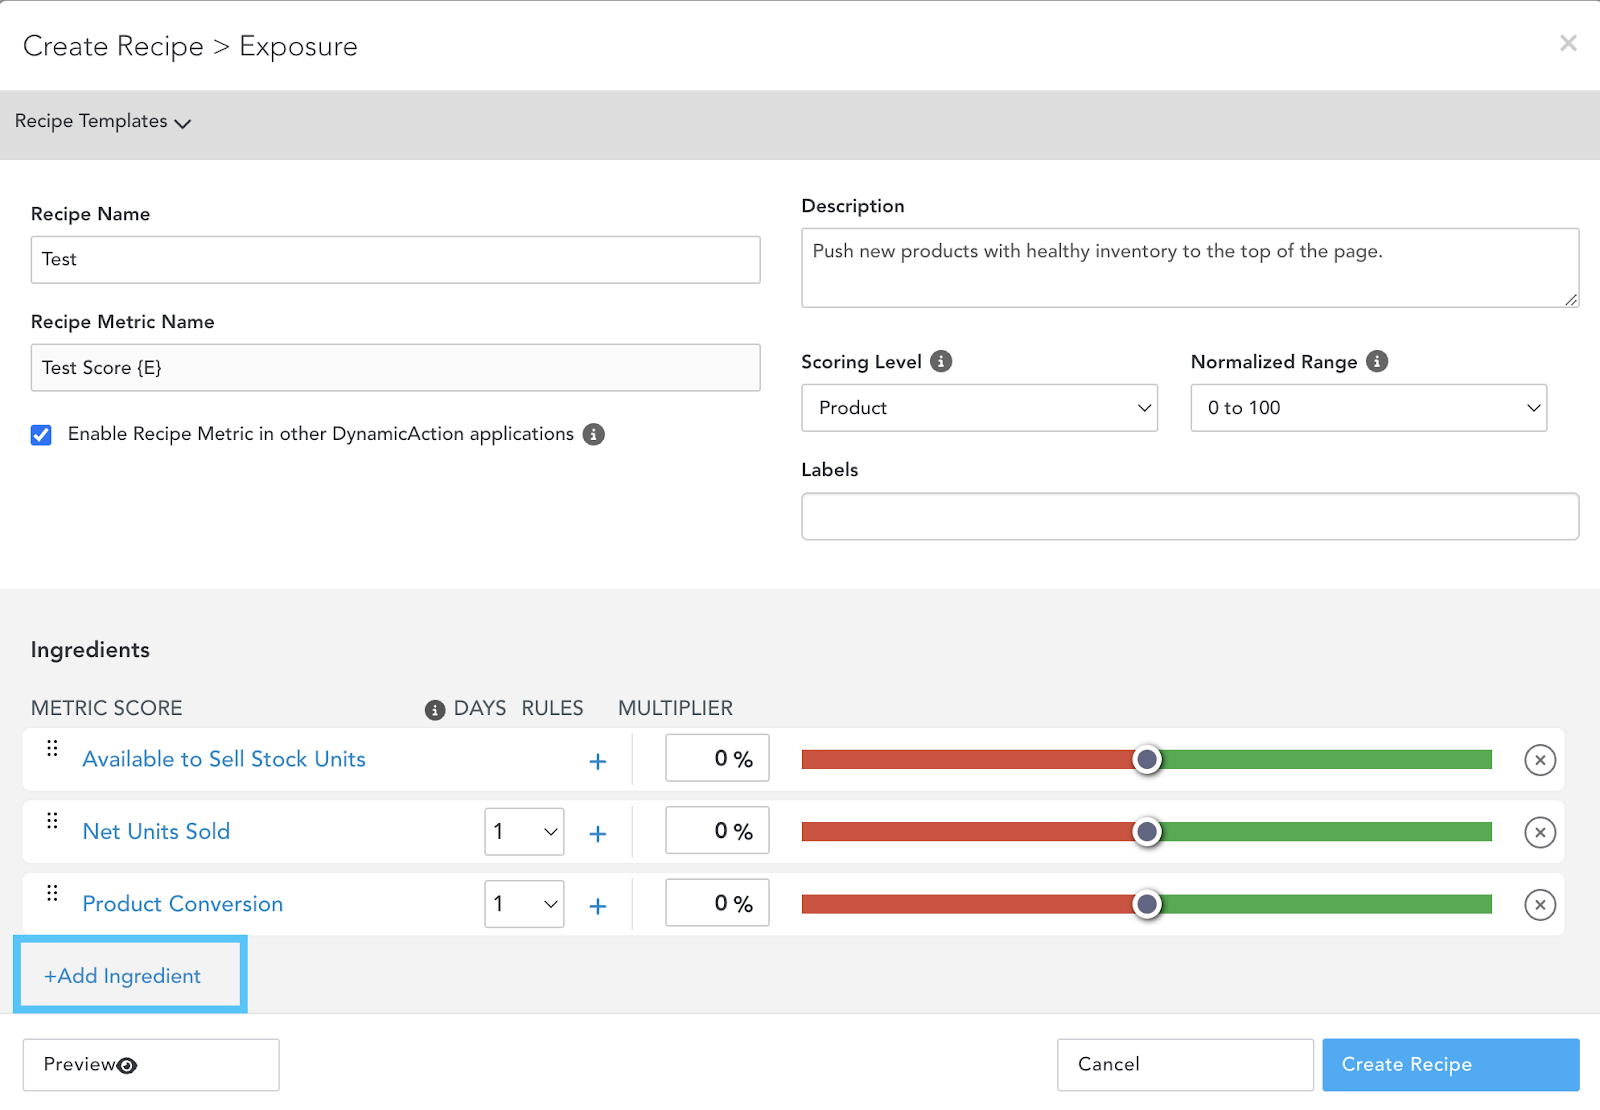
You will need to add Ingredients or metrics to the Recipe to set the criteria for how you want your automation to score products. Every metric added will be scored based on its performance, and all scores will be added together to calculate the final score for each product. In the Exposure instance, this results in a recommended ranking for the product on site.
- Click the +Add Ingredient button.
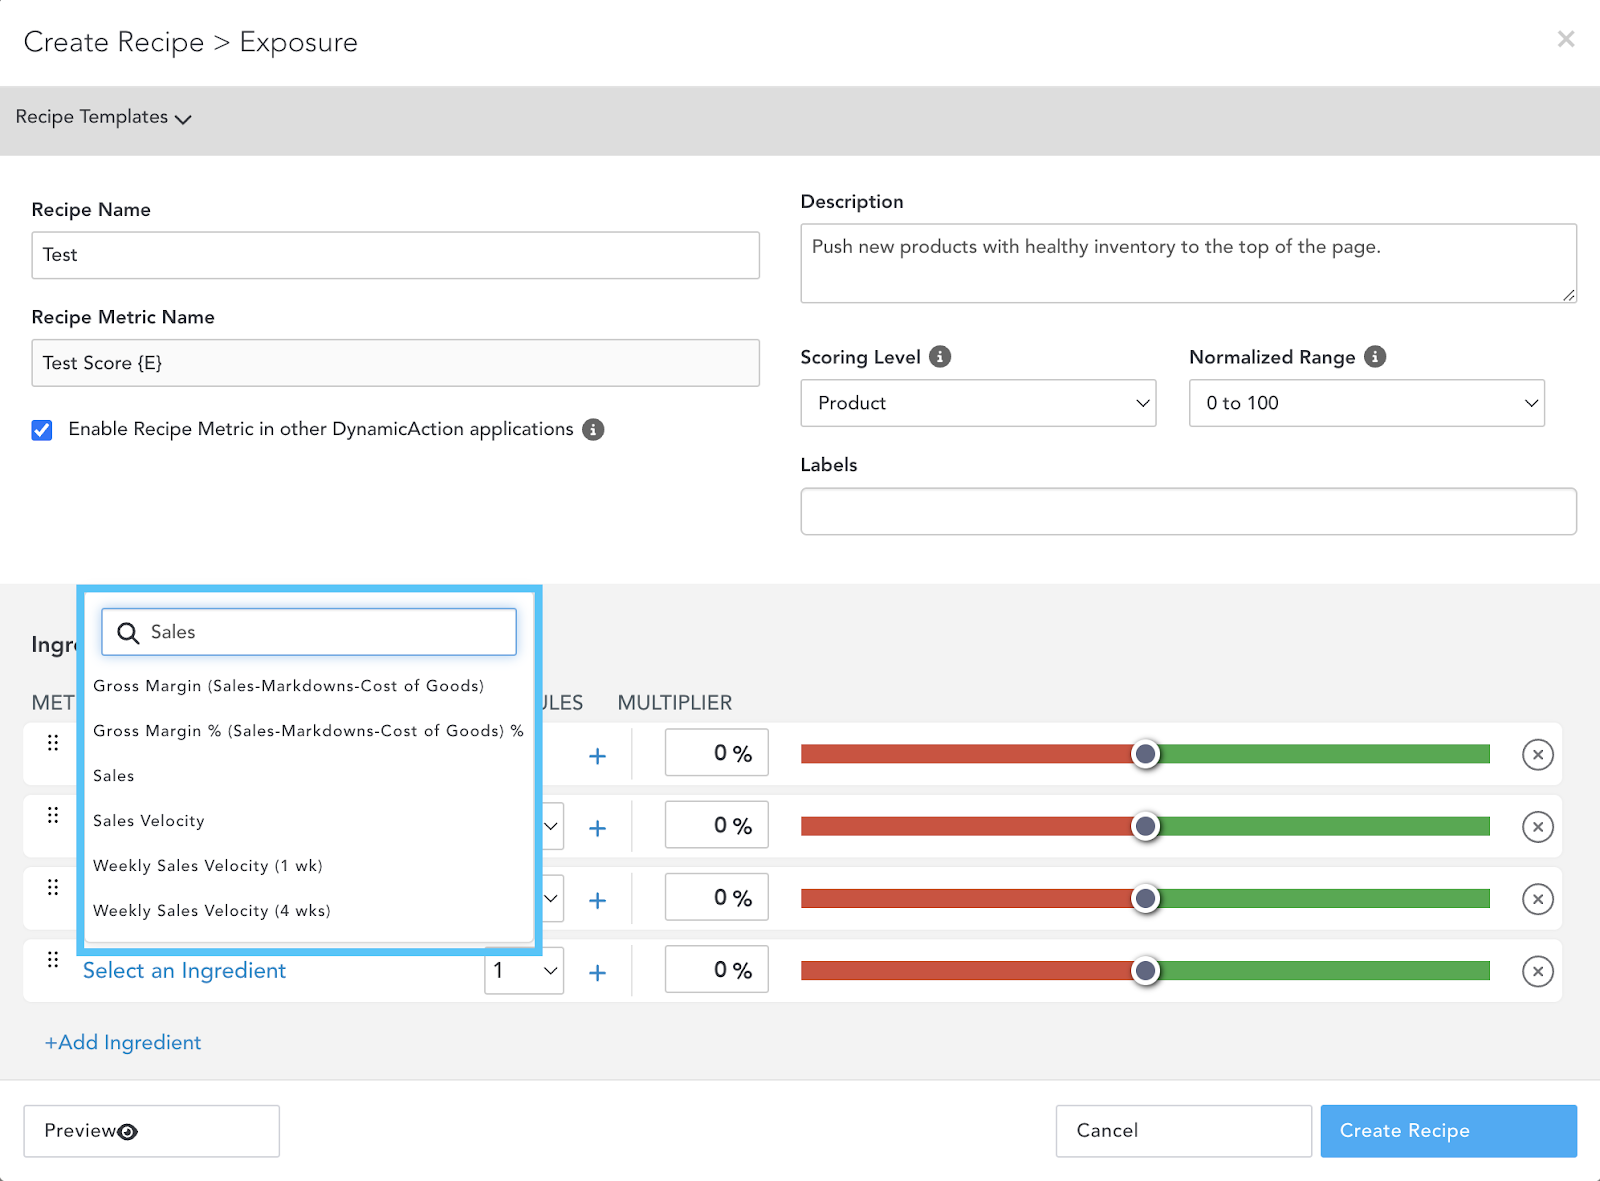
- Select a Metric from the dropdown, such as inventory/stock or sales metrics.
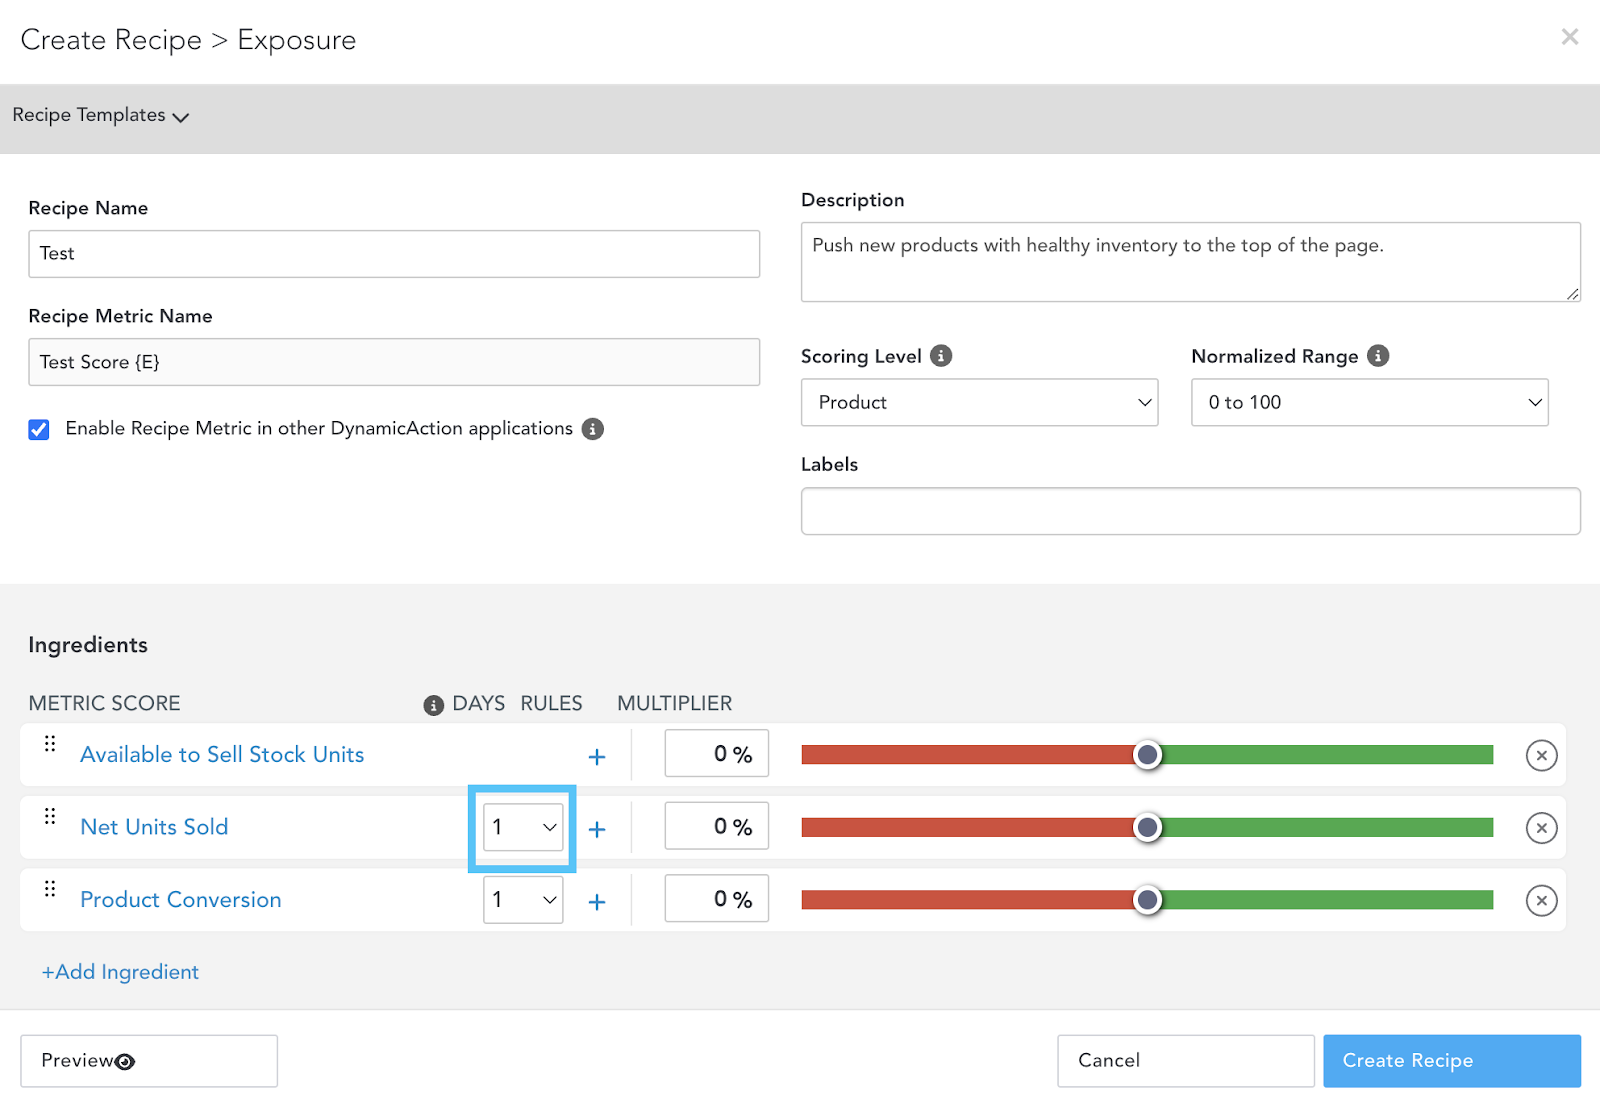
Where applicable, you can amend the number of most recent Days you want to aggregate the metric scores. For example, selecting 7 will score the product based on the metric performance aggregated over the last 7 days.
- Select the Days dropdown and choose the applicable number of days.
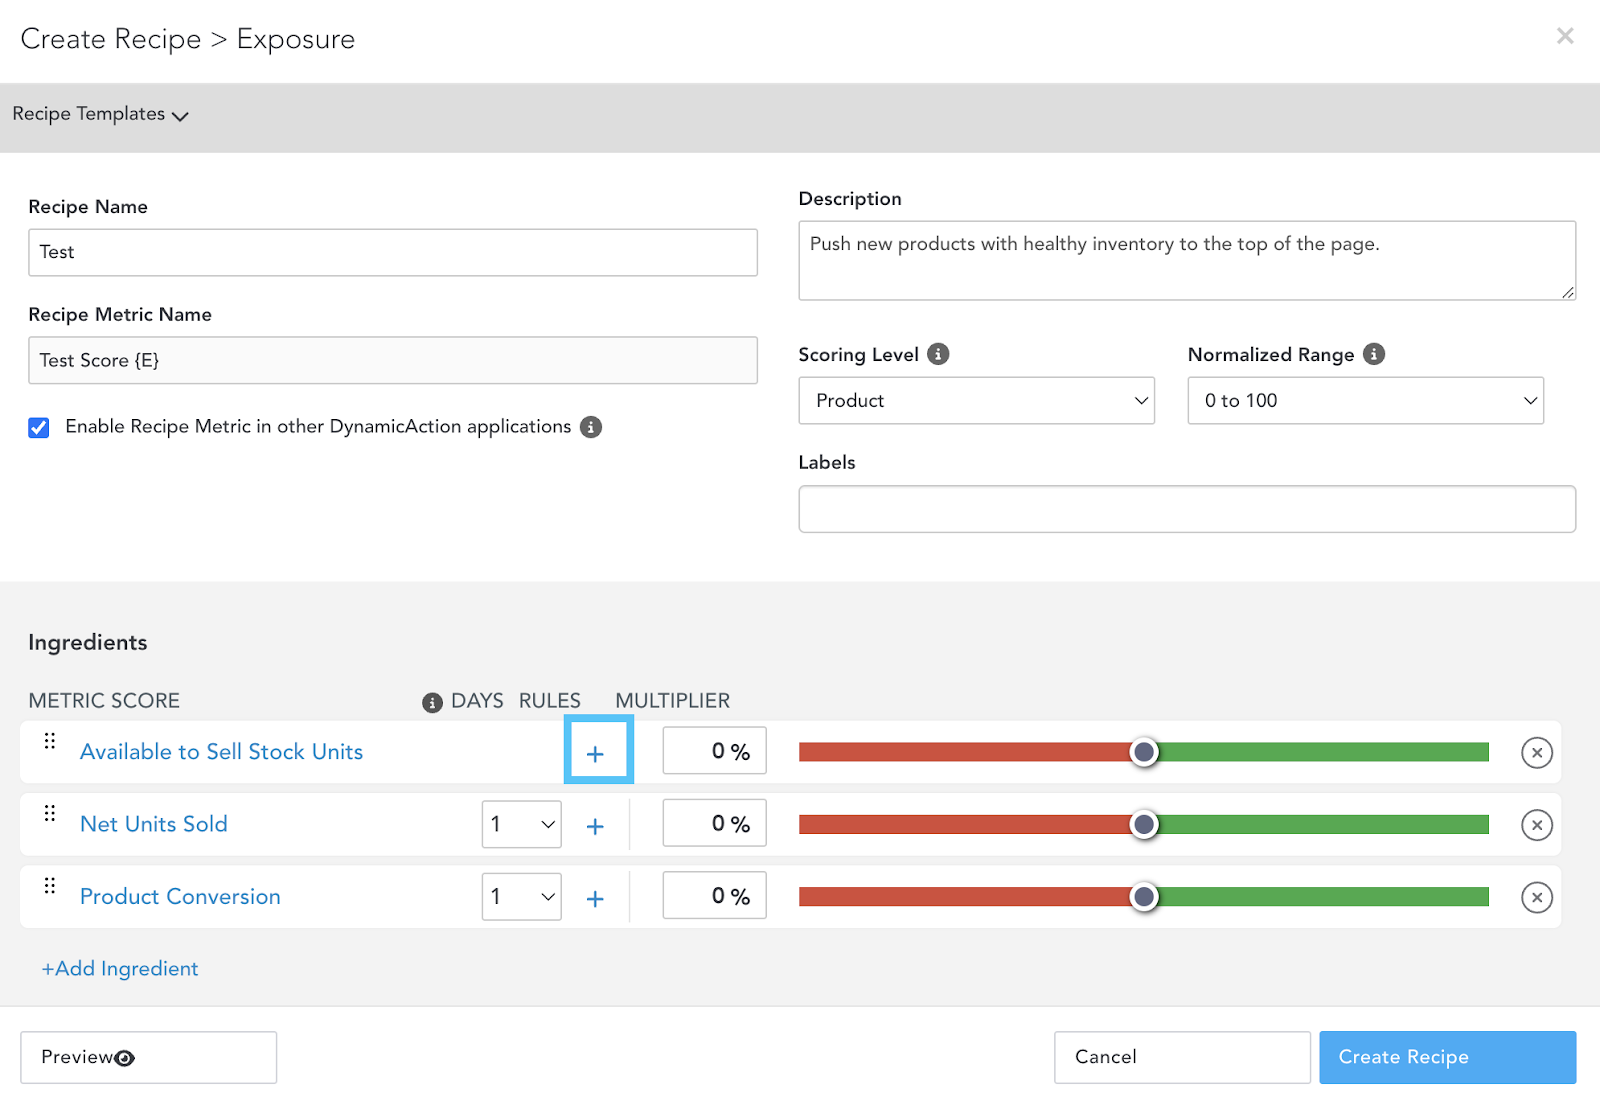
You can apply a Rule to any Ingredient or metric to apply a multiplier to scores if they hit specific criteria. This means that products that fall into a specific category or even a metric threshold will have the multiplier applied.
- Click the + Icon to add a Rule.
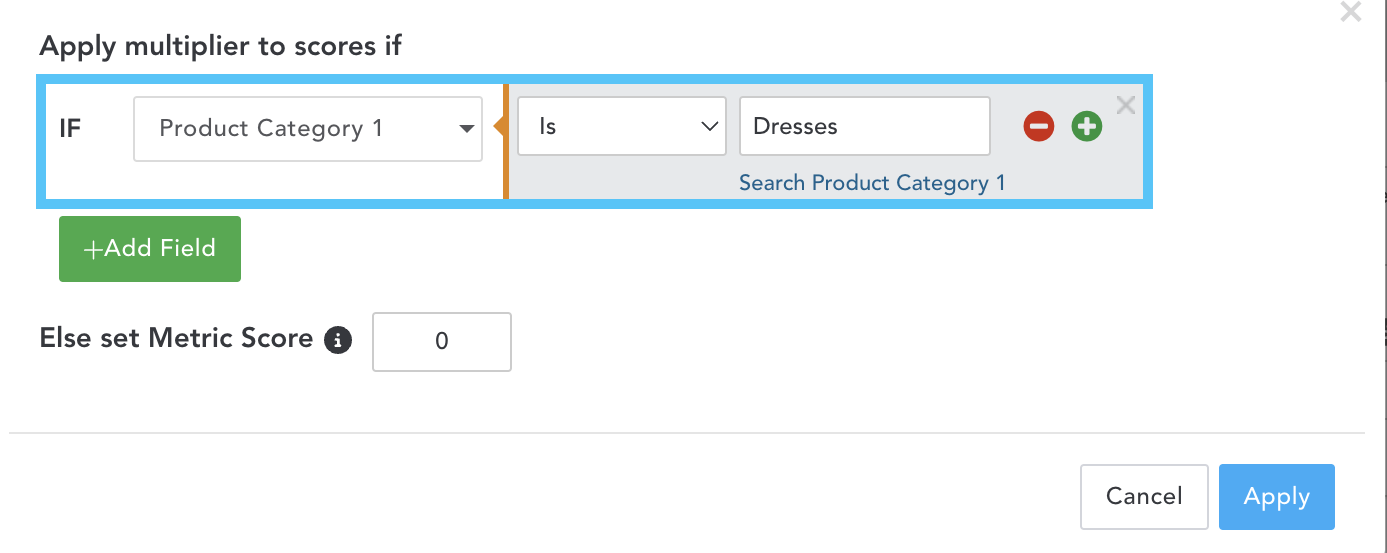
- Click +Add Field.
- Select the first dropdown to choose a metric or a field, e.g., Product Category 1.
- Select the second dropdown to apply a rule, such as Is or Is Not.
- Type the category into the third text box, e.g., Dresses.
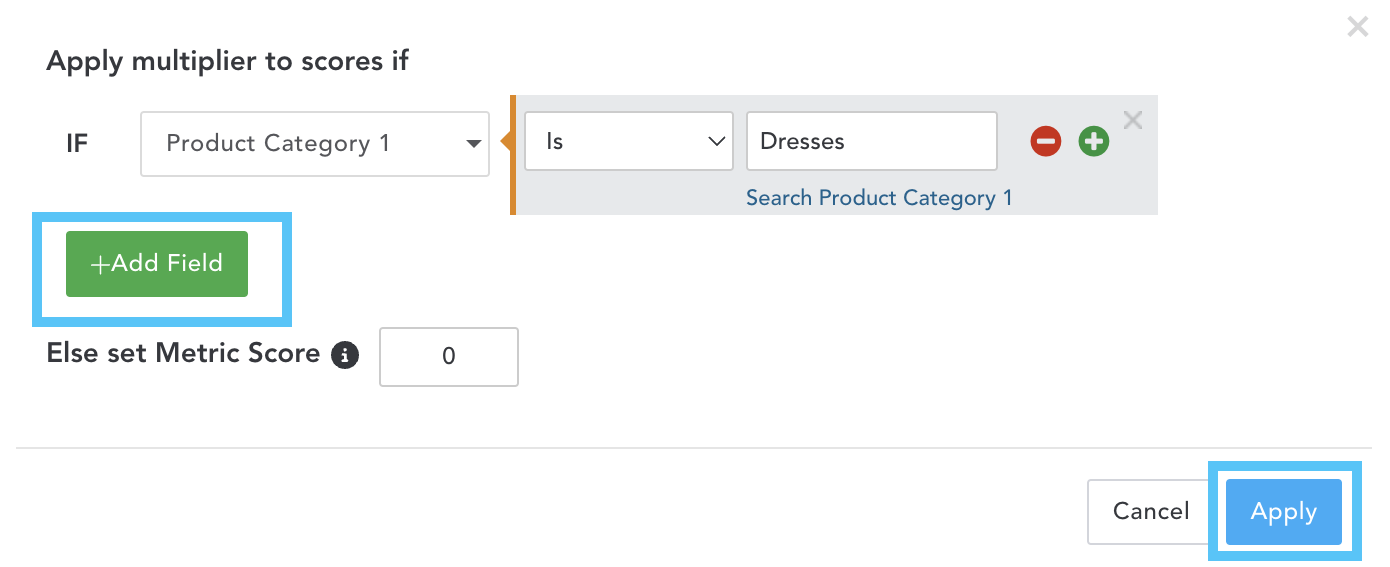
- Click Apply to add this rule to this metric.
You can add AND/OR combinations to these rules. Select +Add Field to add an AND combination and the green + icon to add an OR combination.
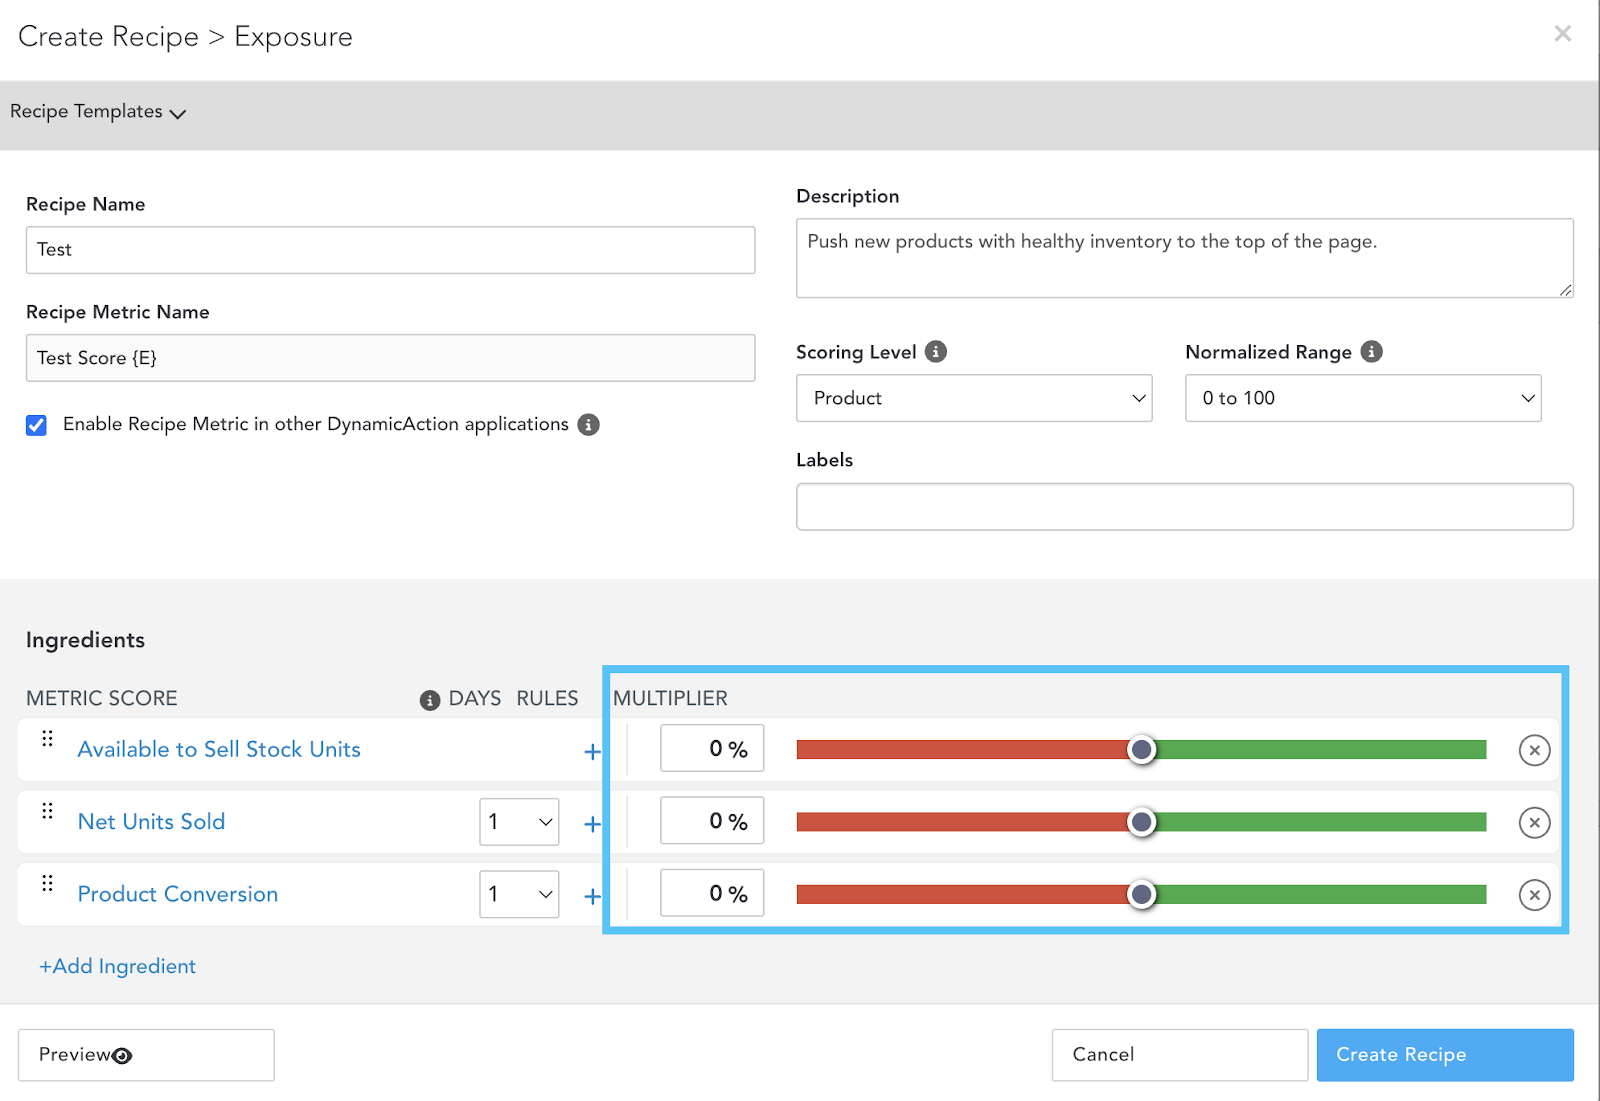
You can set Multipliers to calculate each product's score and set your automation. The multiplier functionality will increase or decrease the importance of each metric in the final score for each product. The higher the multiplier percentage, the higher the importance applied to this metric.
- Type the percentage in the Multiplier textbox.
OR
- Use the sliding scale to set the Multiplier percentage.
Connect with your dedicated Customer Success team to learn more about multiplier scores and how you can implement these to test your automation.
There may be instances where you want to apply a negative multiplier. For example, if you want to assign higher importance to new products, you would need to add a negative multiplier to a metric such as Days on Site. In this instance, the higher the number of days, the lower the score you would want to give.
- Click Save Recipe in the bottom right of the pop-up to save.
How Do I Create An Exposure Recipe Of My Own?
If you have highly specific criteria for your Exposure automation, you also have the option to create your own custom Recipe.
Complete the interactive tutorial below to learn how to make your own custom Recipe.
Here's an interactive tutorial
** Best experienced in Full Screen (click the icon in the top right corner before you begin) **How To Preview Your Recipe
You can preview your Recipe's results once you have created it.
- Click Preview.
You will then be asked to add a filter, e.g., a Product Category or a list of product IDs, to preview and check that your Recipe and automation are set up as required on a sample. See the example below where we have added the category Footwear.
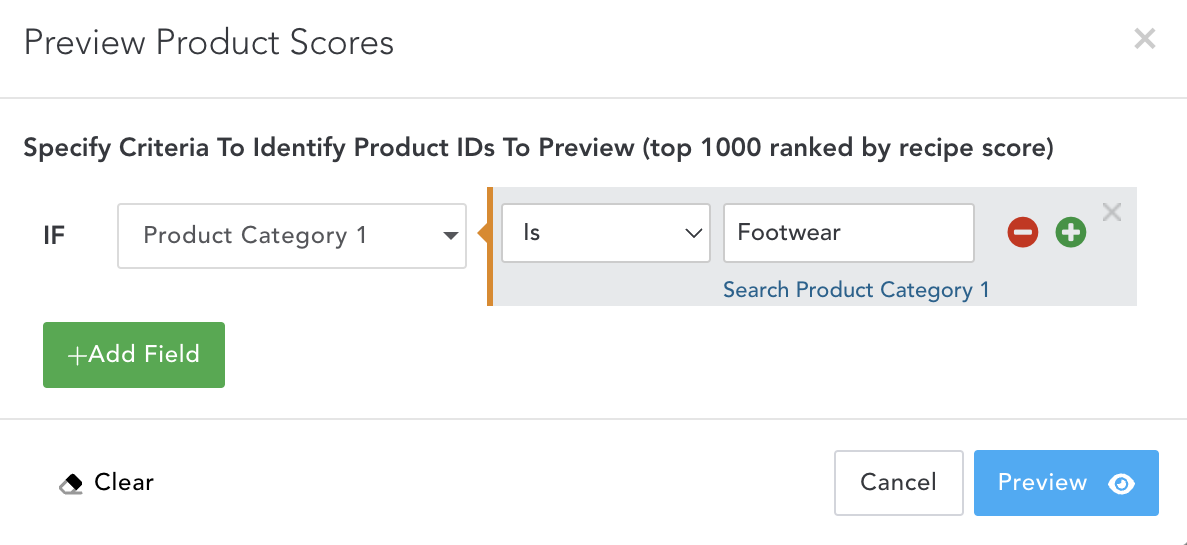
If you do not add a filter, the preview may take a while to load as it analyzes a large data-set.
- Click the blue Preview button.
You will then be taken through to a grid view.
The Metric Score Column will sort the grid from highest to lowest, in this example, it is named Overstocks. This is the score calculated by the rules & multipliers set in the Recipe.
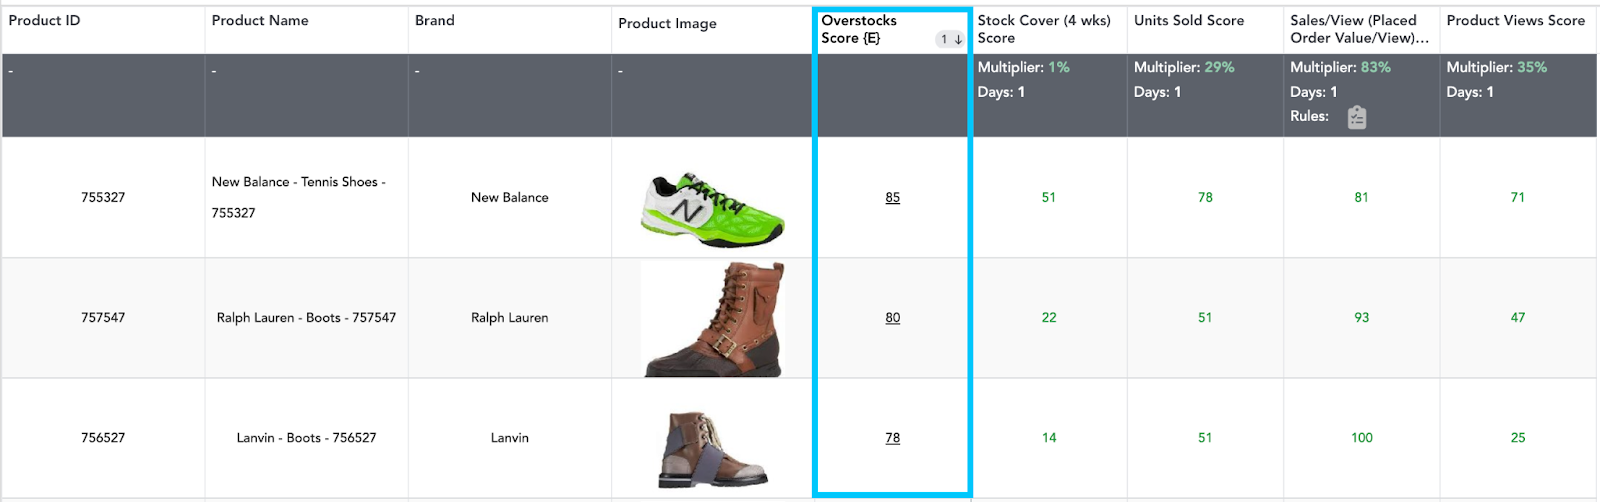
The individual scores of the metrics themselves are in the columns to the right of the Metric Score column.
If you do not see the expected results from the preview, go back to the default landing page and edit the Recipe as required.
Once you are happy with the preview, create your Recipe.
- Click Create Recipe at the bottom right of the pop-up where you created your Recipe.