Clicking Segments & Campaigns within the Customers navigation takes you to the Customer tab within EDITED Signal. From the landing page, you can create or view a Recipe.
A Recipe is a list of customer segments with rules applied to them.
You can’t create a Customer Recipe from scratch. You need to use templates. However, once selected, templates can be customized.
Using recipes requires extensive testing to ensure the correct automation setup; therefore, it’s recommended naming your Recipes with versions or numbers, e.g. Active Buyer V1.
How Do I Create A Customer Recipe From A Template?
You can create a Recipe from one of the six best practice Customer templates to define your custom logic, as shown in the GIF below:
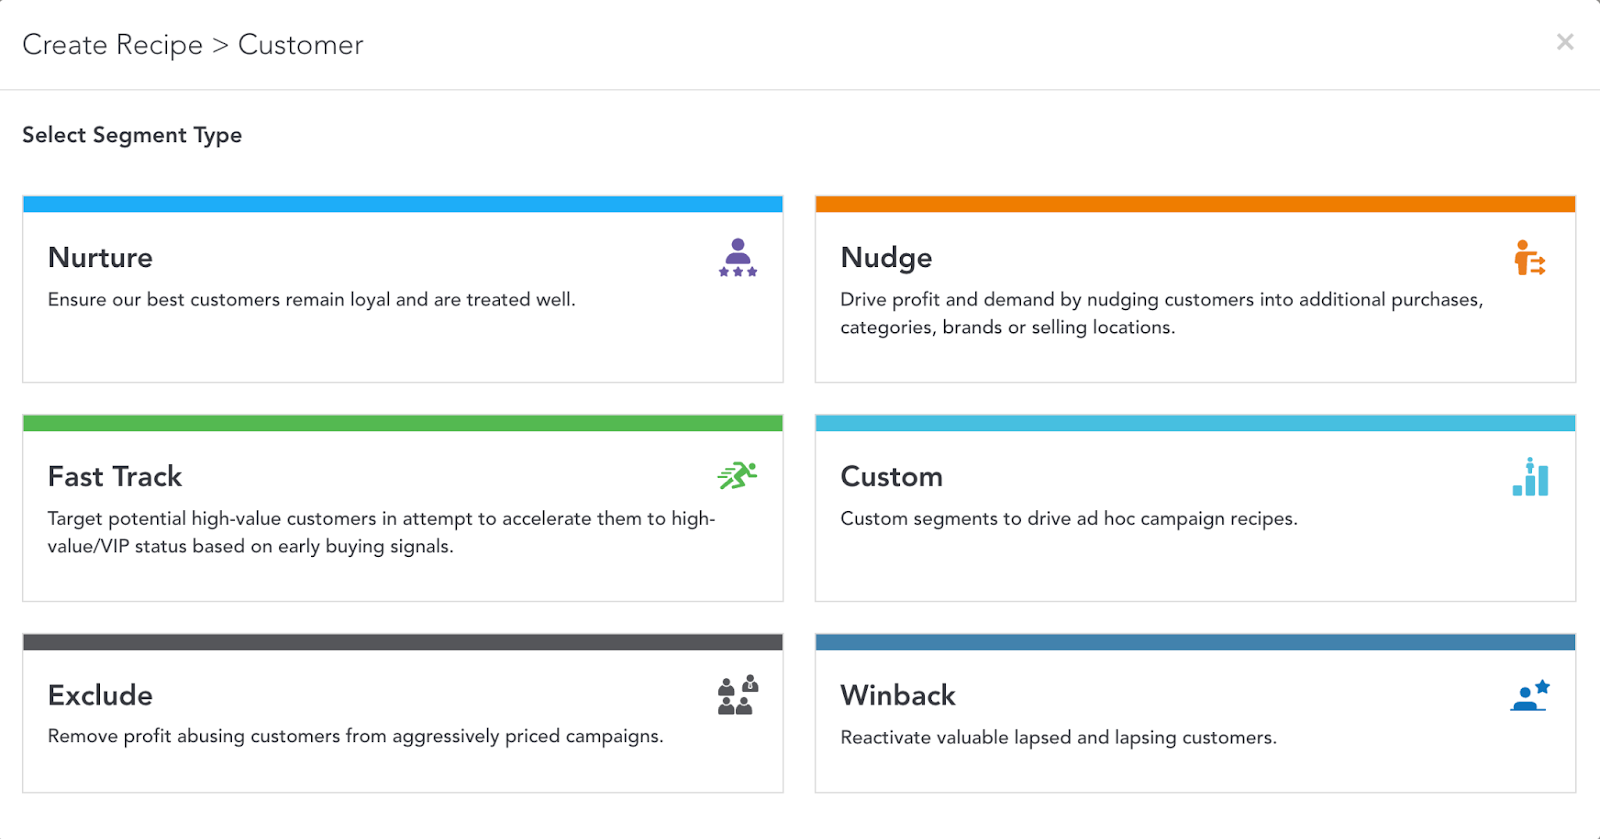
- Nurture: Ensure your best customers are loyal and treated well.
- Nudge: Encourage customers to make additional purchases across categories, brands, etc.
- Fast Track: Target potential high-value customers early.
- Custom: Custom segments to drive ad-hoc campaigns.
- Exclude: Remove profit-abusing customers from discounting campaigns.
- Winback: Reactivate valuable customers.

- Follow the interactive tutorial or read the following instructions to learn how to use a customer segment template.
Here's an interactive tutorial
** Best experienced in Full Screen (click the icon in the top right corner before you begin) **
Customer Recipes must have at least one rule, but the number of rules you can include in a single Recipe is unlimited.
- Click Create Recipe on the right side of the default landing page.
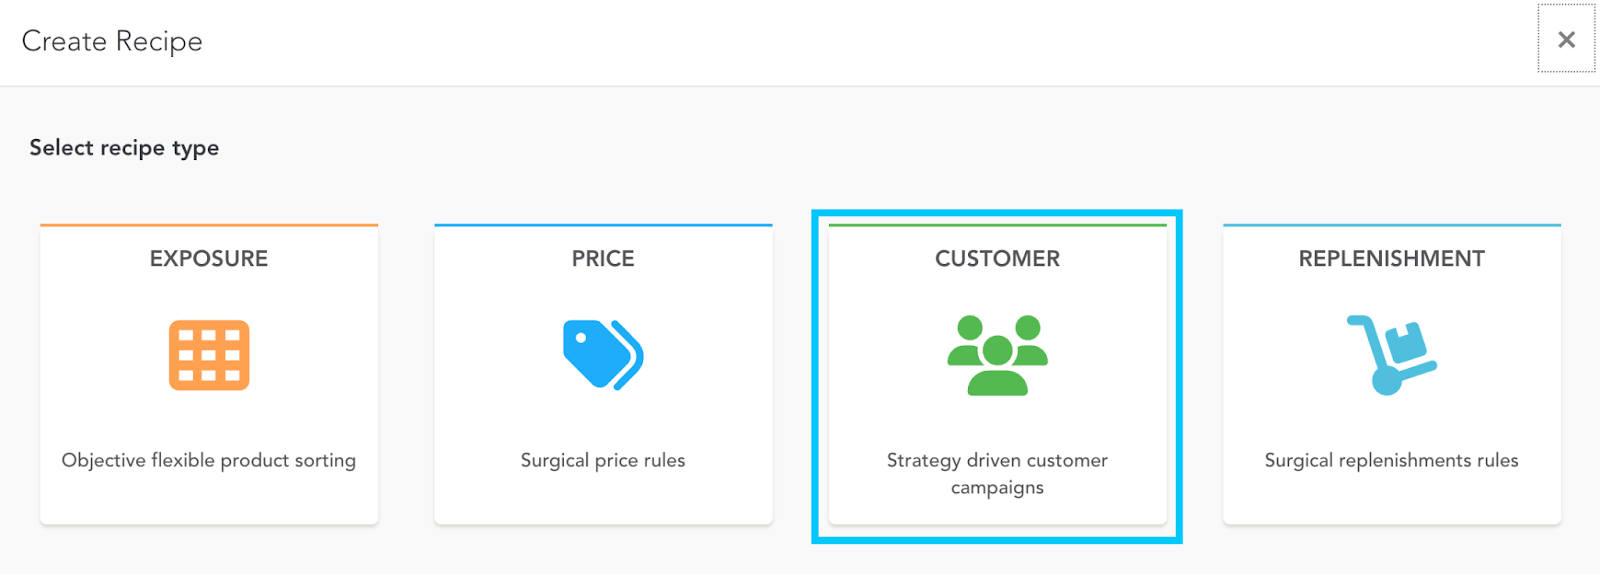
- Select the Recipe type.
You will then be asked to choose one of the six Segment Types.
You can also create a new Customer recipe by copying existing Recipes from yourself or colleagues.
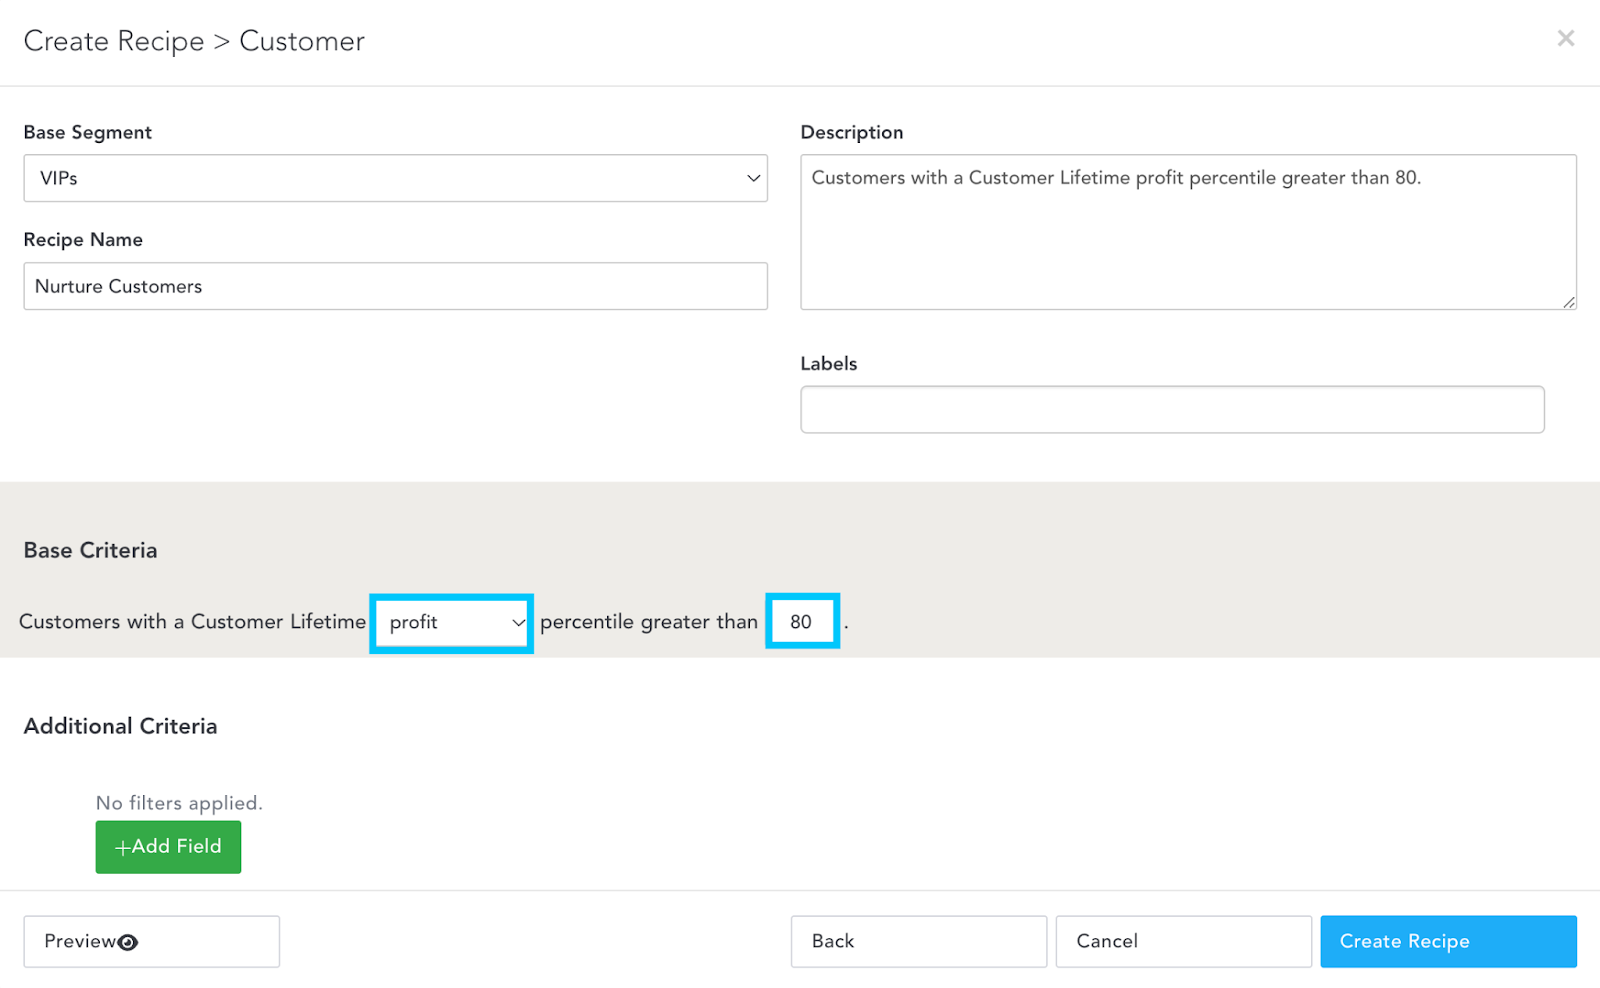
Once you have selected your Segment Type, you can customize the criteria of that specific customer Recipe.
- Type in a Recipe Name & Description.
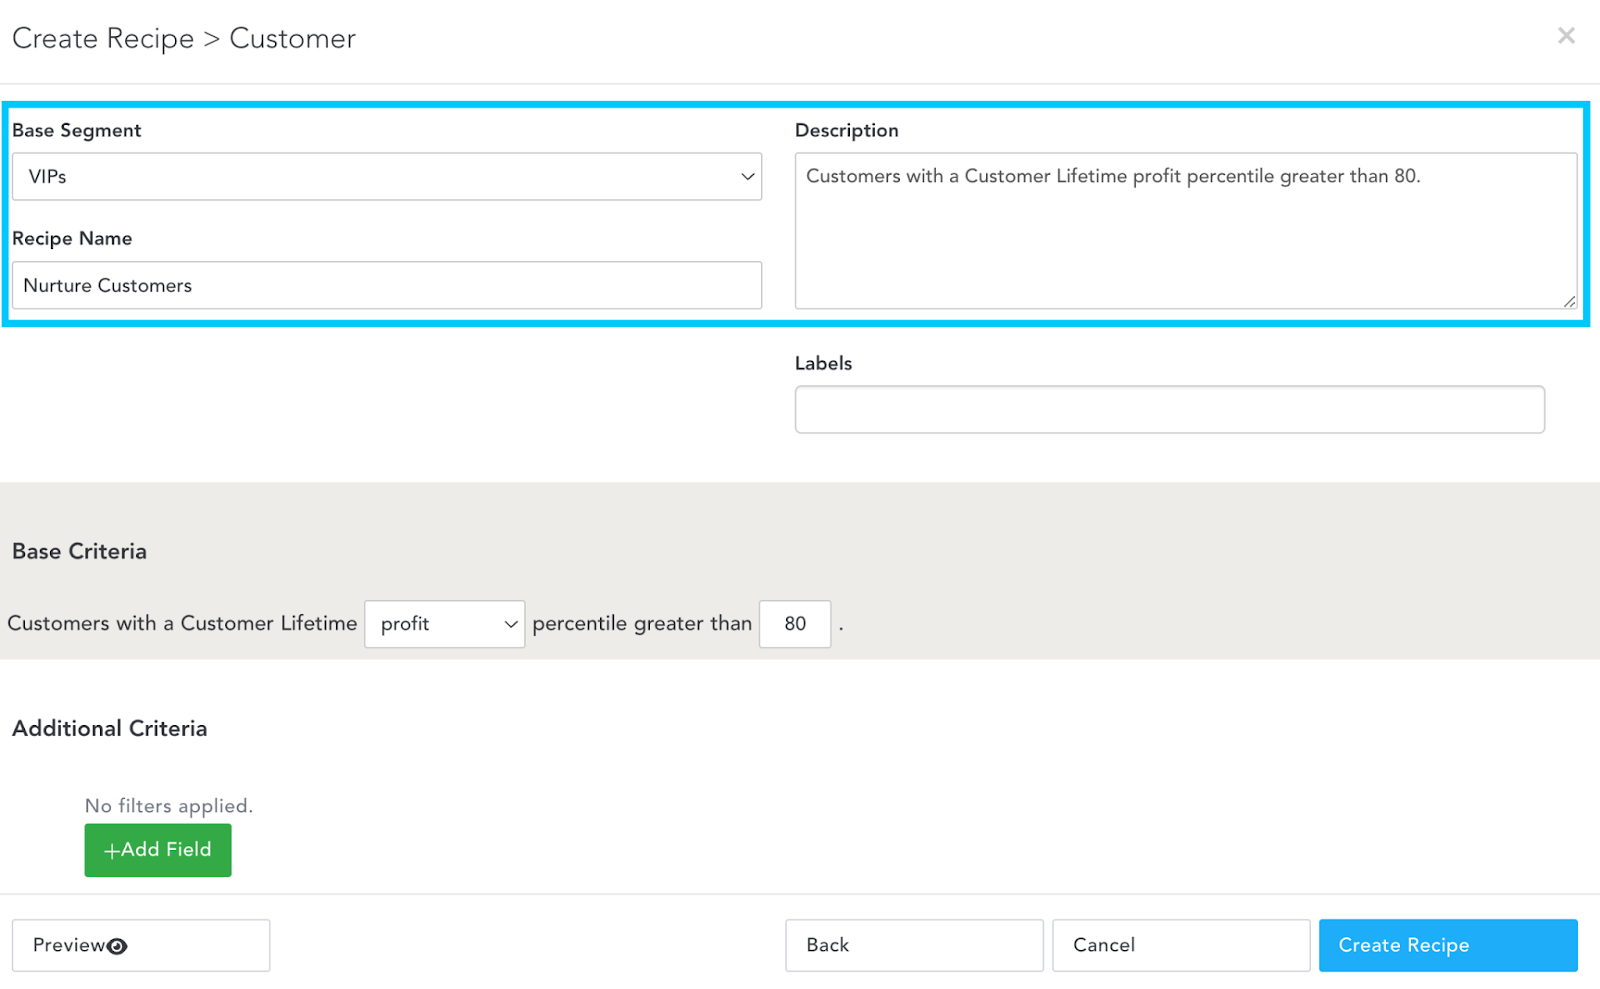
Use the dropdowns and text boxes to amend the base criteria to align with your business expectations. Every Segment Type will have a different Base Criteria to complete based on the action required.
- Use the dropdown to select the metrics of choice, e.g., Profit.
- Type in the percentile value, e.g., 80.
This will create a list of all customers with a Customer Lifetime Profit that scores in the 80th percentile or higher compared to other customers.
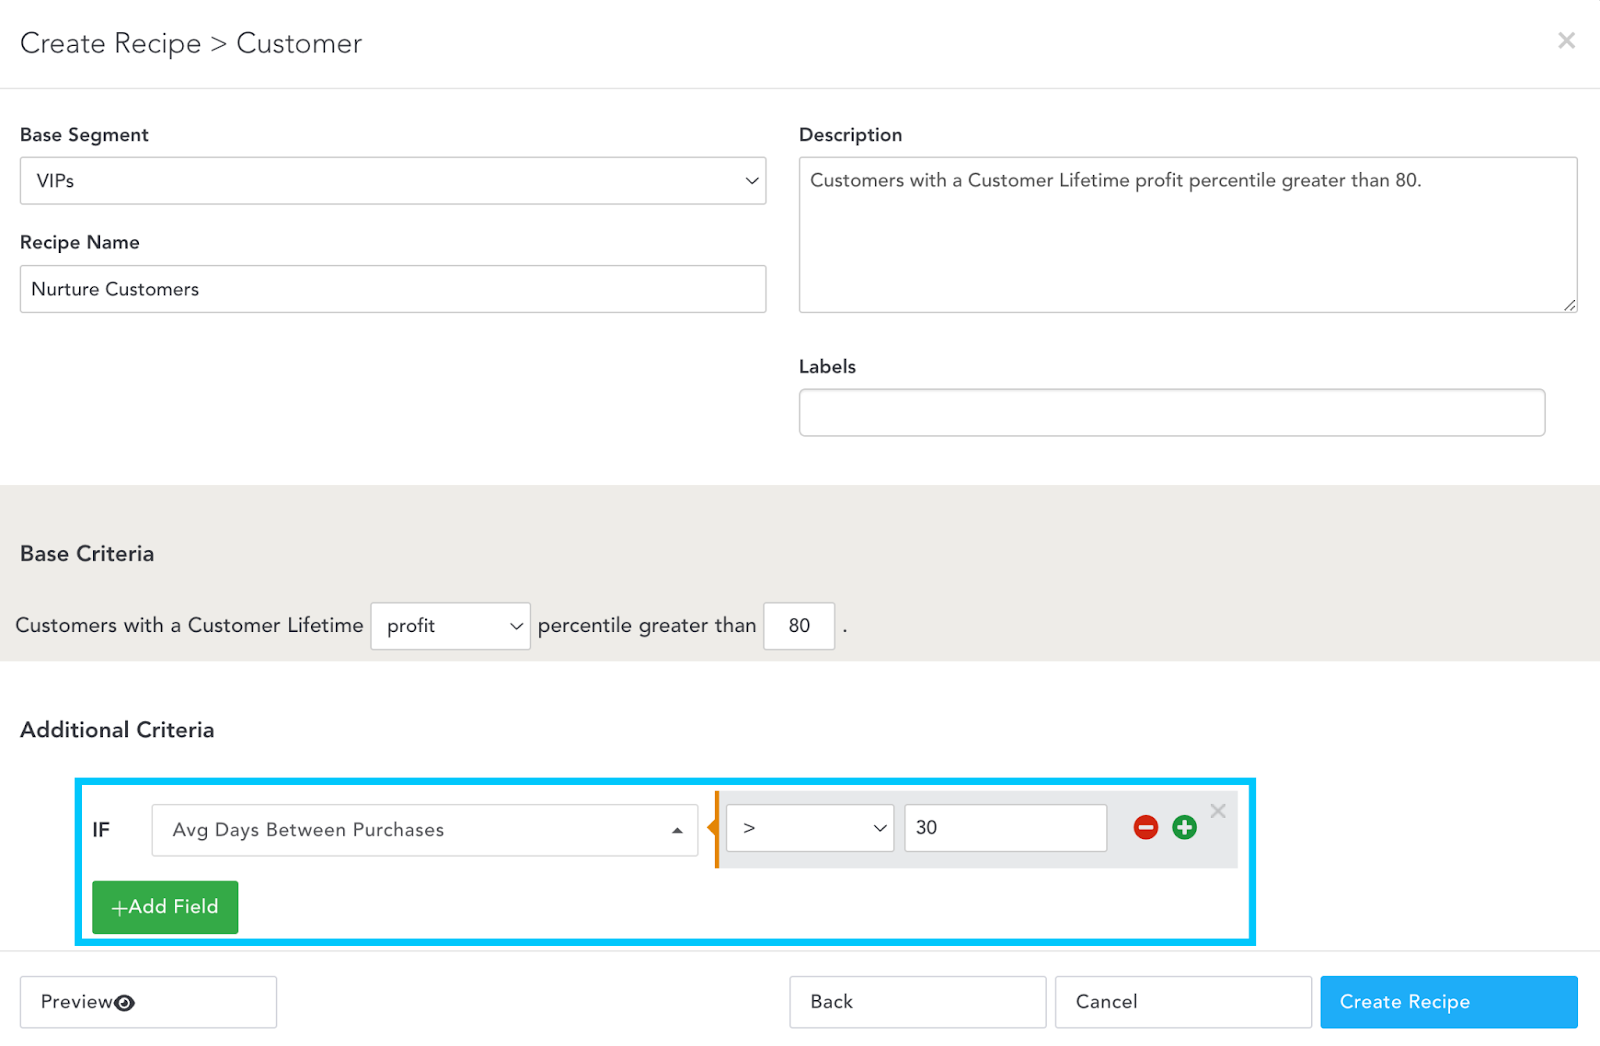
You can apply Additional Criteria via filters to add further specificity to the Recipe.
- Click +Add Field.
- Select the Field or Metric from the first dropdown, e.g., Average Days Between Purchase.
- Select the appropriate rule from the second dropdown: greater than, less than, equal to, etc.
- Type in a value to the third textbox, e.g., 30.
How to Preview Your Recipe
You can preview your Recipe's results once you have created it.
- Click Preview.
You will then be asked to add a filter, e.g., a Product Category or a list of product IDs, to preview and check that your Recipe and automation are set up as required on a sample. See the example below where we have added the category Footwear.
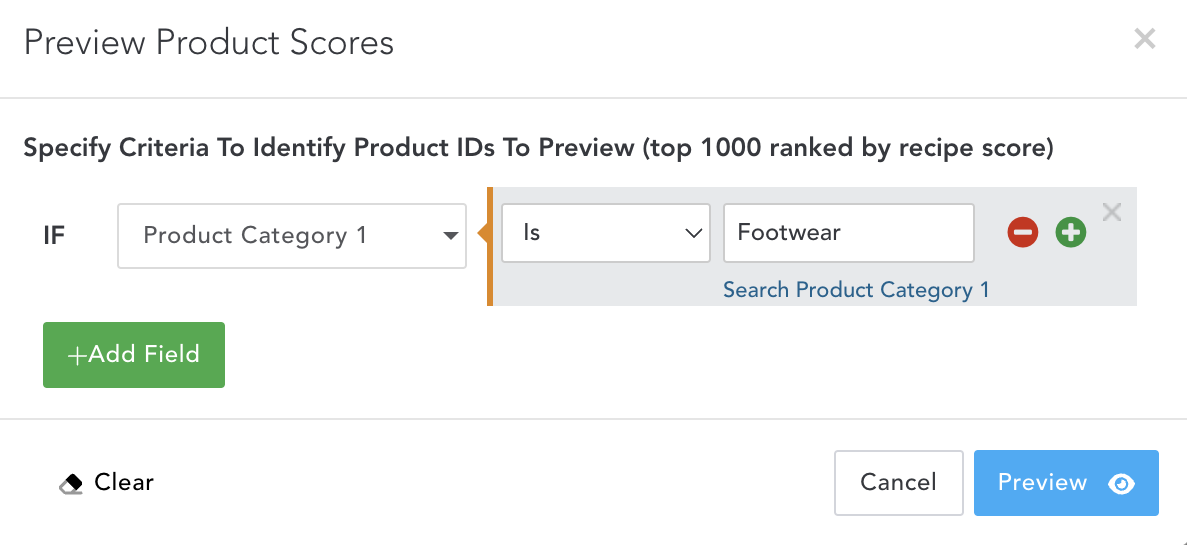
If you do not add a filter, the preview may take a while to load as it analyzes a large data set.
- Click the blue Preview Button
You will then be taken to a grid view. This grid view shows a list of customer IDs that correspond to the rules and criteria applied in the Recipe. You can tailor campaigns, strategies, and actions to this customer group.
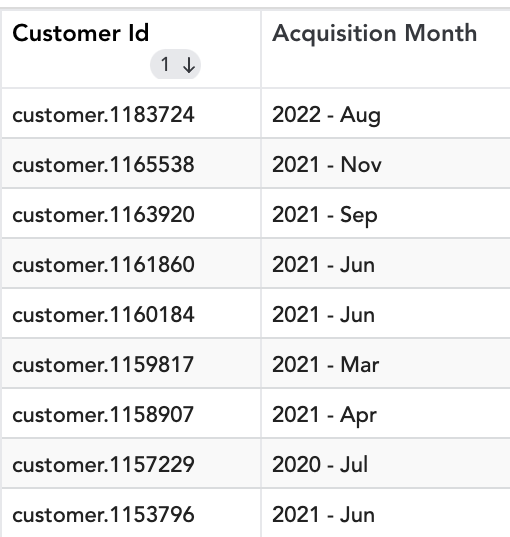
You can add fields such as Acquisition Month to the grid preview as required.
If you do not see the expected results from the preview, go back to the default landing page and edit the Recipe as required.
Once you are happy with the preview, create your Recipe.
- Click Create Recipe at the bottom right of the pop-up where you created your Recipe.