What is the Difference Between a Metric and an Item Alert?
Item Alert: an alert setup within an analysis feature, like Opportunities, that signals when there are new products that fall into a criteria, e.g., new products with High Profit, but Low Views.
There are two types of Metric Alerts that can be set up within an analysis feature like myDNA:
Metric Threshold: alerts if a metric like Product Profit % surpasses a specific threshold, e.g., it tracks higher than 70%.
Metric Anomaly: alerts if a metric like Product Profit % falls out of an expected range, e.g., it is no longer within the 5-10% range.
How to Create a Metric Alert
You can enable a Metric Alert through the myDNA analysis tool.
- Select Dashboards > myDNA from the left-hand navigation.
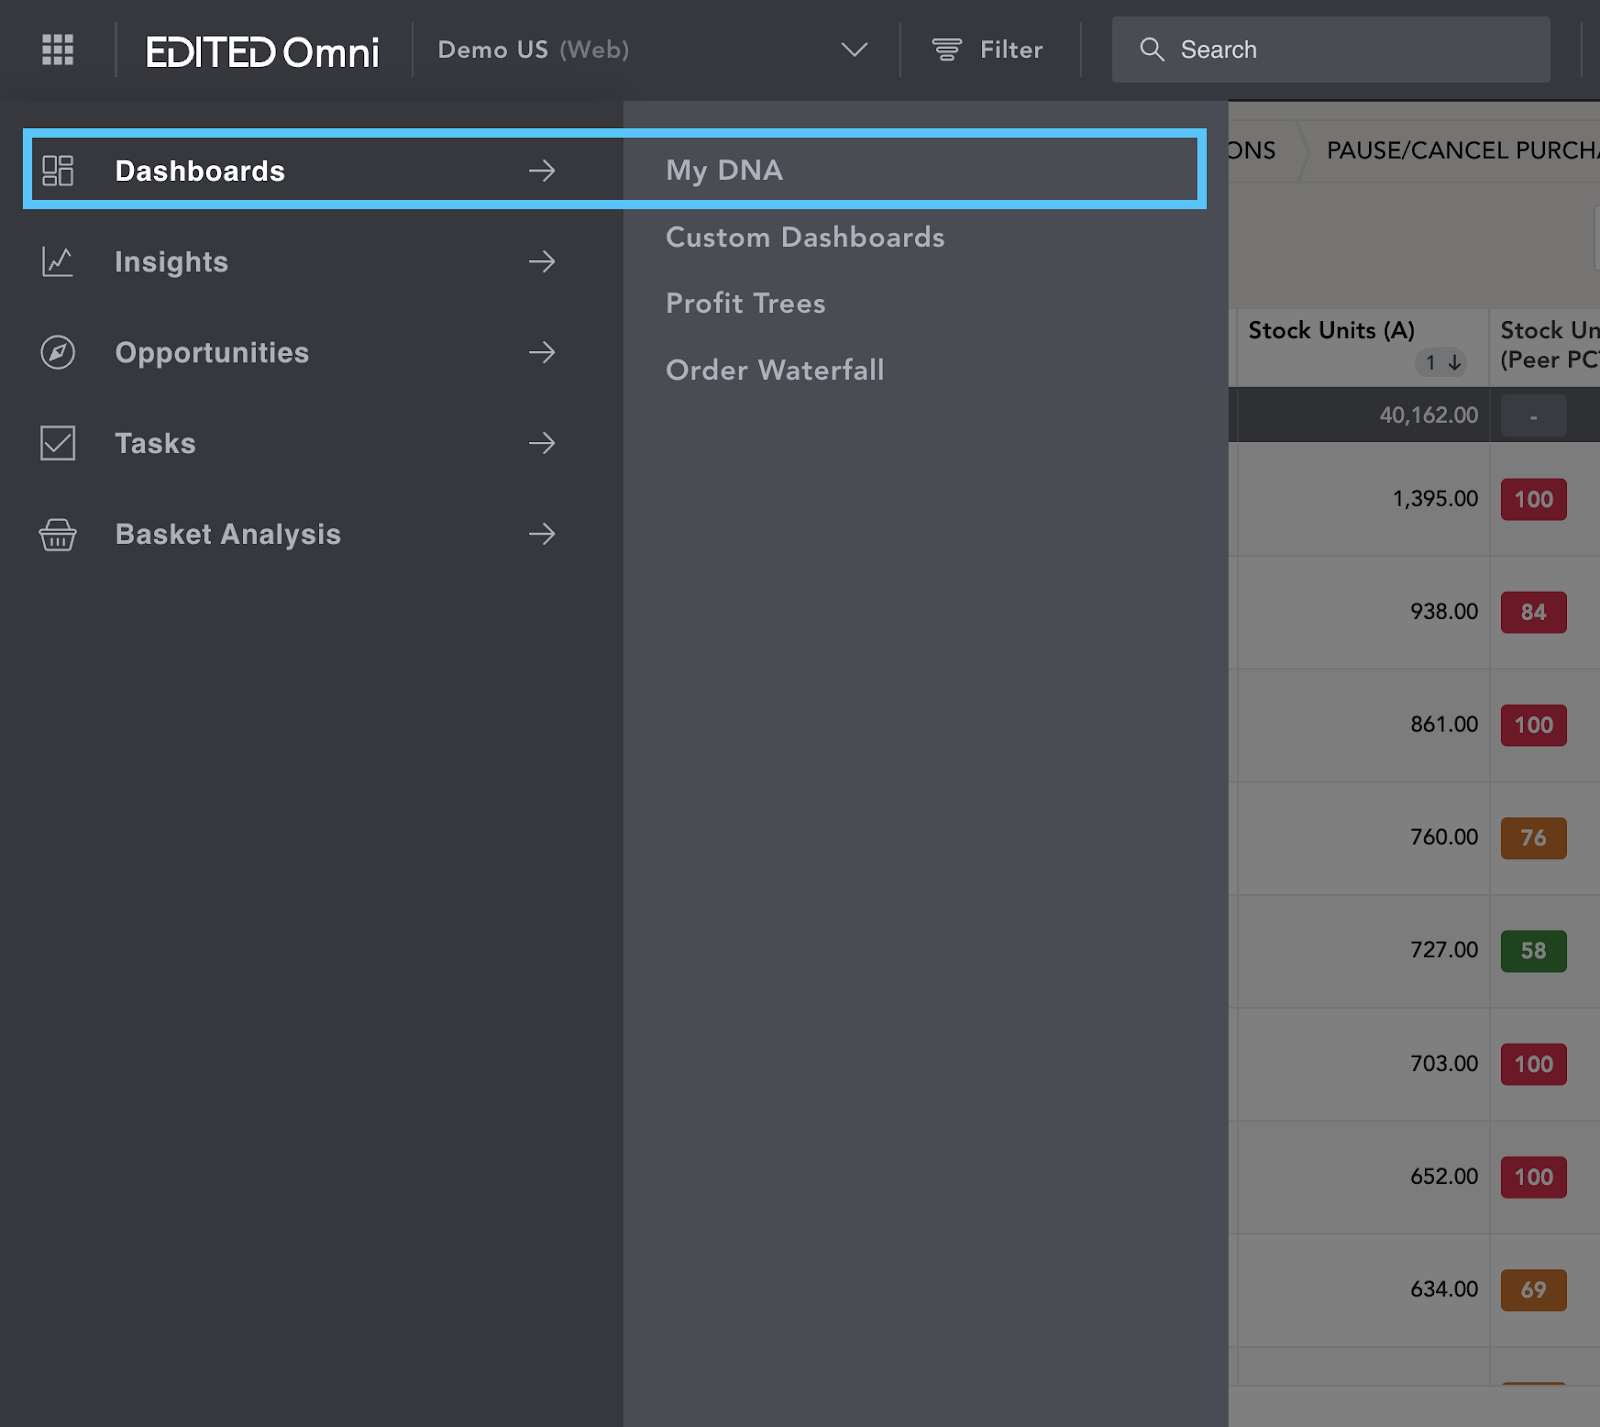
- Click the metric that you want to create an alert for, e.g. Product Profit %.
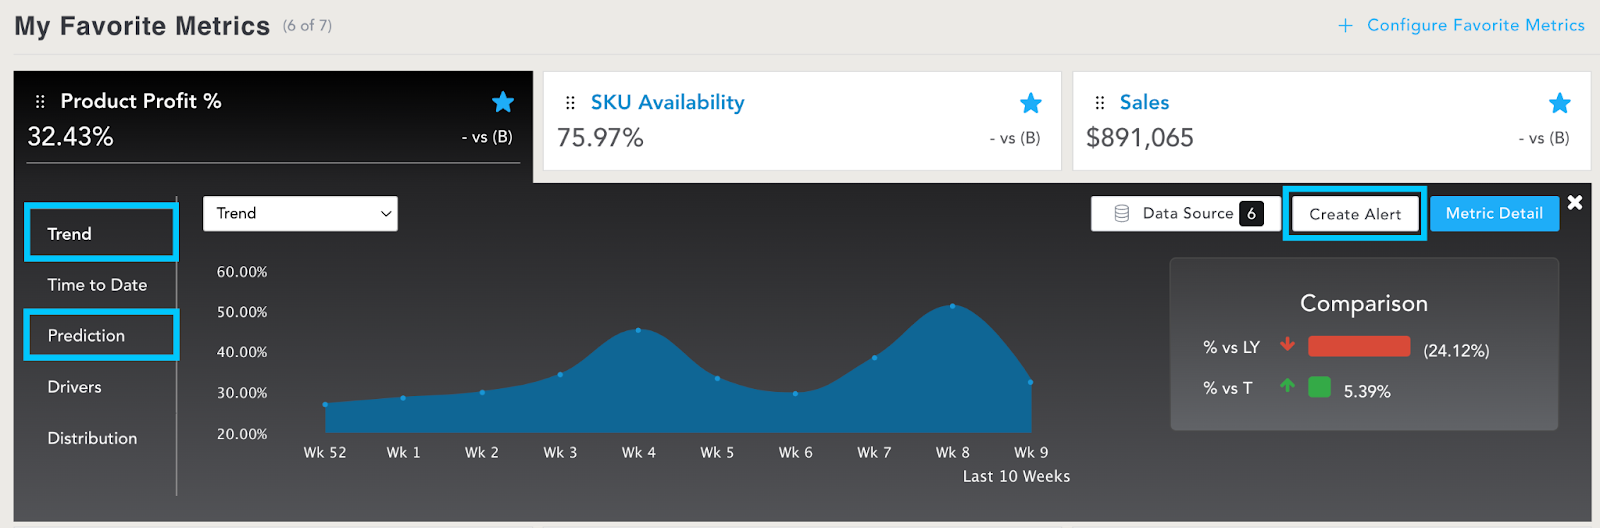
- Select either Trend or Prediction from the left-hand of the metric widget.
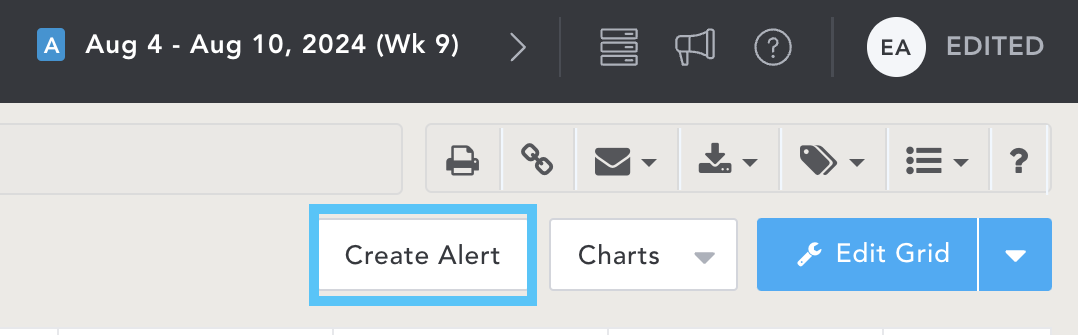
- Click Create Alert in the right-hand corner.
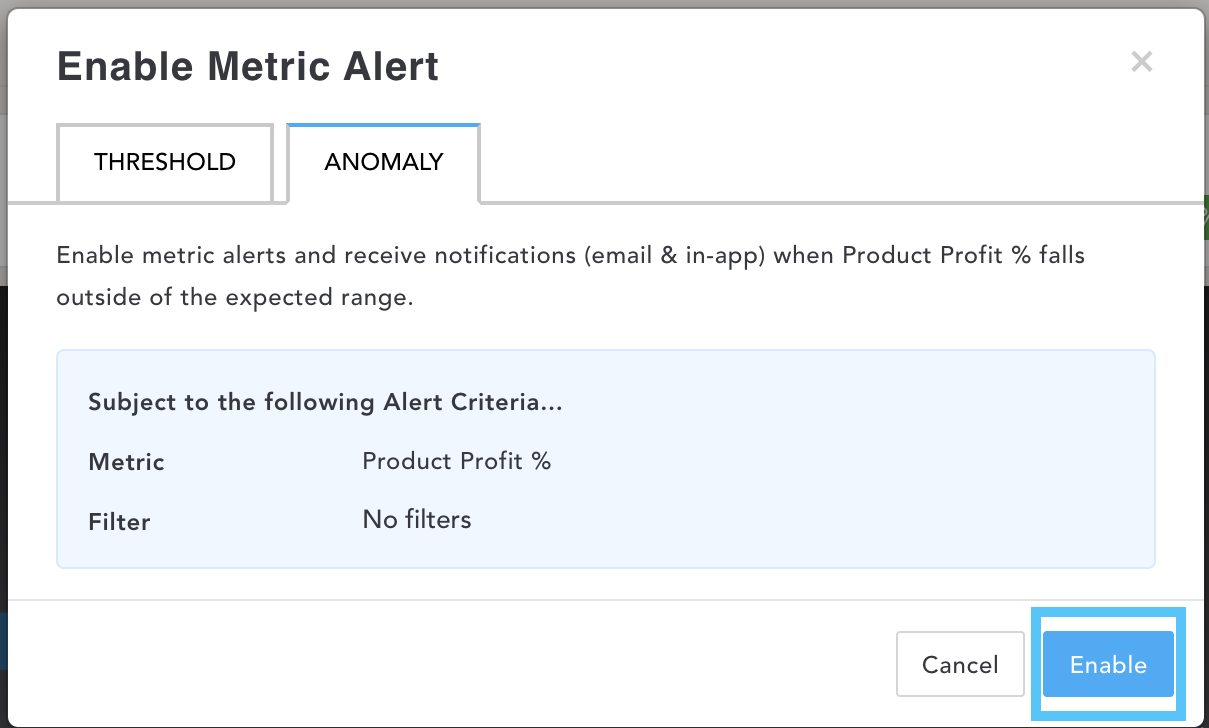
- Select the Threshold or Anomaly tab.
- If you select Threshold you will be asked to complete the following fields.
- Alert Name : type a name
- Alert me…:Select a frequency of alert via the dropdown, e.g., Daily.
- When X…::Select a rule via the.dropdown, e.g., is greater than.
- Value: Type a number into the text box.
- To: Add email addresses of those people who should be alerted in the section.
- Notes: Include notes, takeaways, and actions within this section.
- Click Enable to create the alert.

- If you select Anomaly, click Enable to be notified when the metric falls out of an expected range.
You can also enable a Metric Alert within Metric Details.
- Select Insights, Metric Insights, and Metric Details from the left-hand navigation panel.
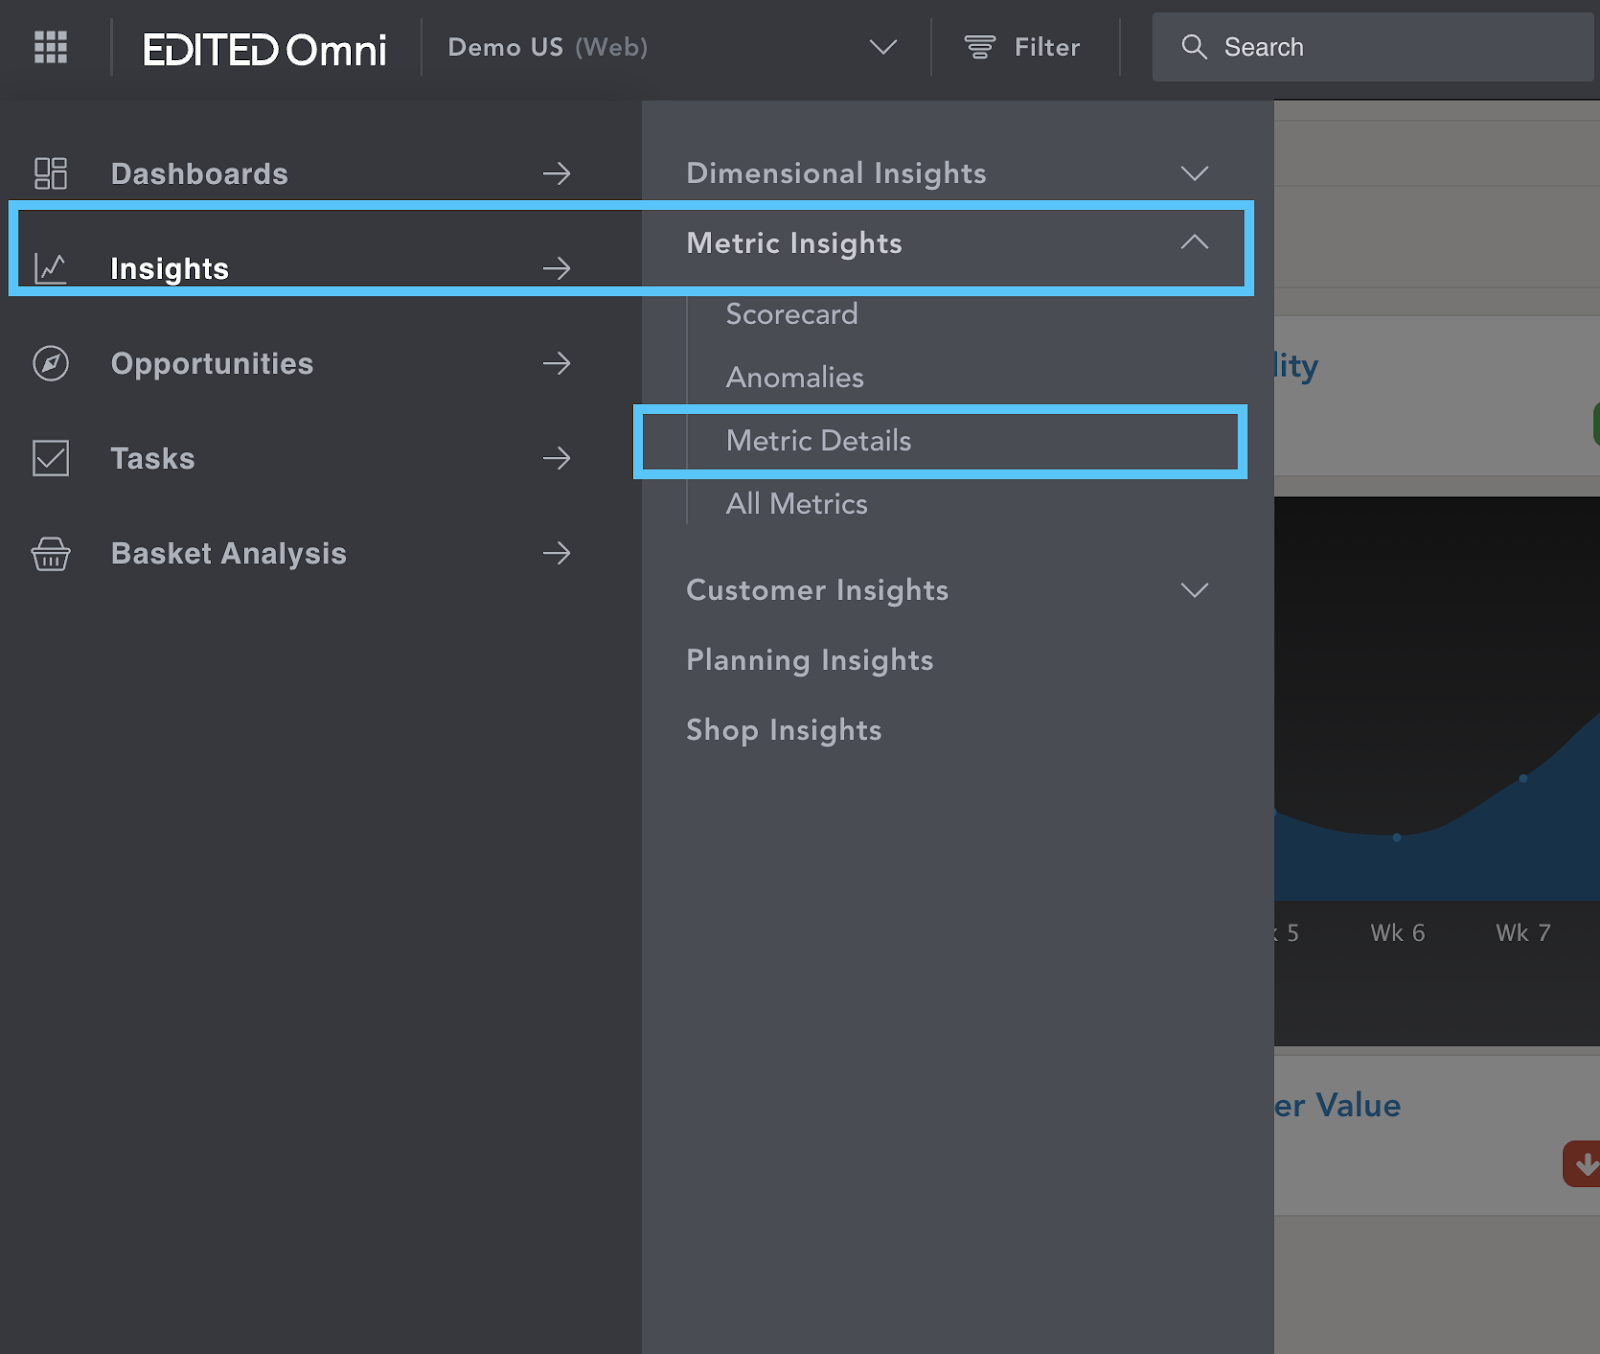
- Click Create Alert.

- Follow the same process as above to set up a Metric Anomaly or Threshold alert.
How to Create an Item Alert
You can enable an Item Alert through Decision Trees, Product Badges, and Basket Analysis.
- Select the appropriate analysis tool via the left-hand navigation panel.
- Click Create Alert in the top right-hand corner.
Complete the following fields:
- Evaluate: Click the dropdown to select the frequency the item alert is evaluated for change.
- Starting from the next or last processing period: Select from the dropdown.
- Reporting Period: click the dropdown to select the length of time the alert is reporting on.
- Item List: select the dropdown to be notified only of new products or all products falling into the item alert criteria. New items are recommended for taking quick trading changes. Select the dropdown next to the Item List to choose a comparison, e.g., vs the previous time period.
- To: Add additional emails to receive alerts as required within the textbox.
- Notes: Add notes or actions to the textbox.